How to Draw a Soccer Ball: No Two Pentagons Ever Touch
Draw a light circle, then a single pentagon slightly off-centre. Ring that pentagon with five hexagons, one on each edge. Keep adding panels outward, squashing them flatter as they approach the edge of the circle. Fill the pentagons black, leave the hexagons pale, and shade one side. The one rule that keeps it looking right: no two pentagons ever touch.
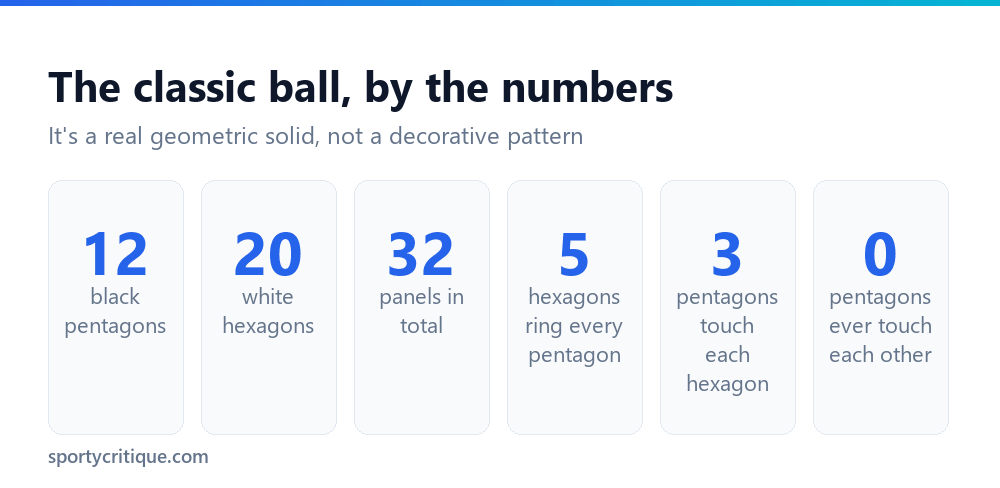
The pattern isn’t decoration — it’s a solid
The classic soccer ball is a truncated icosahedron. That’s a genuine geometric shape: 12 pentagons and 20 hexagons, 32 panels in total, arranged so that every pentagon is surrounded entirely by hexagons and no two pentagons ever share an edge.
This matters for drawing because it means the pattern isn’t something you can improvise. People sketch a circle, scatter some black shapes around it, and wonder why it looks off. It looks off because a real ball obeys a rule, and your eye knows that rule even if you’ve never consciously noticed it.
Every pentagon is an island. If two black shapes are touching in your drawing, that’s the error — and it’s the one most people make.
What you need
An HB pencil for construction, something softer for shading, and an eraser. If you’re going to ink it, a fine liner around 0.3mm for the panel edges and something broader for filling the pentagons will save a lot of time.
A compass or a traceable round object is more useful here than it was for the basketball, because the panel layout depends on the circle being genuinely circular. An oval throws off the whole pattern and you won’t spot it until you’re twenty panels in.
Step 1: the circle, drawn faintly
Light enough to erase cleanly. You’ll be constructing on top of this line and it should disappear by the end.
Resist the urge to make it large. A ball around the width of your palm is far easier to pattern correctly than a full-page one, because the panels stay big enough to place accurately without becoming a test of endurance. Thirty-two panels is more drawing than it sounds.

Step 2: the first pentagon
This is the decision that determines everything else, so it’s worth a moment’s thought.
Place a pentagon near the middle of the circle, but not exactly at the centre. Dead centre gives you a symmetrical, slightly lifeless ball; nudging it off to one side immediately reads as a real object photographed from a real angle. Tilt it a few degrees too, so one point isn’t aimed straight up.
Size it at roughly a quarter of the circle’s width. Too small and you’ll be drawing panels forever; too large and there won’t be room for the rings around it.
💡 Pro tip: Draw the pentagon by marking five points on a light circle first, then joining them. Freehanding a regular pentagon in one go is much harder than it looks, and this shape is setting the scale for the entire drawing.
Step 3: the ring of hexagons
Each edge of your pentagon gets a hexagon attached to it. Five edges, five hexagons, sitting around it like petals.
These should look close to regular — this is the flattest, most face-on part of the ball, so distortion is minimal here. Share the edges properly: the hexagon’s bottom edge is the pentagon’s edge, not a second line drawn next to it. Panels on a real ball are stitched or bonded together with no gap between them.
When the ring is complete you’ll notice the hexagons touch each other at their corners, forming a rough ten-sided outline around the whole group. That outline is your guide for the next ring.
Step 4: outward, and the squash that sells it
Here’s the part that separates a soccer ball from a football-patterned circle.
You’re drawing a sphere on flat paper. The surface curves away from you toward the edges, which means panels near the silhouette are seen at a steep angle and appear compressed. A hexagon in the middle of the ball looks like a hexagon. The same hexagon near the rim looks like a thin curved sliver — sometimes barely more than a line with a slight bulge.
So as you work outward from that first cluster, flatten each successive ring. Not gradually and evenly, either: the compression accelerates. The change from ring one to ring two is modest. The change from ring three to the edge is dramatic.
⚠️ Watch out: If your panels are still recognisably hexagonal right up to the outline of the circle, the drawing will read as a flat disc with a pattern printed on it. The squashing at the edges is doing more work than any other single element here.
The panel edges should also bow very slightly rather than being ruled straight. Barely — a hint of curve. Straight-edged panels are a subtler version of the same flatness problem, and it’s the reason a ruler is the wrong tool for this drawing.
Step 5: filling in and shading
Fill the pentagons dark and leave the hexagons pale. Resist making the pentagons pure flat black — on the shadowed side of the ball a black panel is still darker than one in the light, and keeping that variation is what stops the pattern floating off the surface.
The same goes in reverse for the pale panels. They aren’t paper-white; the ones on the shadow side should carry a definite grey. If you shade the ball as a whole after the panels are filled, both of these happen naturally, which is much easier than trying to judge each panel individually.
Add a soft highlight where the light hits. A modern ball has a slight sheen — more than a basketball, less than something glossy — so a gentle, soft-edged bright area is right. Then a contact shadow underneath if it’s resting on a surface.
If you want a ball that looks current
Worth knowing: professional match balls haven’t used the 32-panel pattern for years. Modern balls are thermally bonded from a handful of oddly-shaped curved panels — six or eight, sometimes fewer — in whatever colours the manufacturer chose that season.
So if you’re drawing a contemporary scene, the pentagon-and-hexagon ball is technically a period piece. It’s also still the universally understood symbol for ‘football’, which is why it remains on road signs, packaging and emoji keyboards everywhere.
Draw the classic pattern when you want the ball to read instantly as a soccer ball. Draw the modern one — fewer, larger, curving panels with a coloured graphic — when you’re depicting a specific real match. Both are correct; they just say different things.
Line weight, if you’re inking it
Uniform line weight is what makes an inked ball look like clip art. Vary it and the same drawing gains depth for no extra effort.
Three rules cover it. The outer silhouette gets the heaviest line. Panel edges in the lit area get the lightest. Panel edges on the shadow side sit somewhere between, thickening as they approach the rim. You’re not being subtle here — a visible difference is the point, because it tells the eye which parts of the surface are turning away.
Where panels compress into slivers at the edge, don’t try to outline both sides of the sliver. One line, slightly thicker, reads better than two lines with a hairline gap that will close up the moment the ink spreads.
Drawing it small, or in motion
A ball at the feet of a player in a wide shot is a centimetre across, and drawing all sixteen visible panels at that size produces grey mush. Suggest instead: one clear pentagon, two or three surrounding shapes, and let the rest go. The pattern is so familiar that a fragment of it is enough.
For a ball in flight, squash it very slightly along the direction of travel and soften the trailing edge. Don’t overdo the squash — a soccer ball is inflated hard and barely deforms in the air, unlike a cartoon. What sells motion is the blur and the shadow on the ground, not the distortion.
And if the ball is being struck, that’s the one moment it genuinely does deform. A visible flat spot against the boot for a single frame is accurate, and it’s a detail most people never think to include — see how to kick a soccer ball for what’s actually happening at contact.
The honest shortcut
Not every drawing needs all 32 panels laid out correctly. If the ball is a small part of a larger picture, or you’re sketching quickly, there’s a version that holds up: draw the circle, place one pentagon slightly off-centre, ring it with five partial hexagons, and then simply let the pattern fade toward the edges rather than resolving it.
Because the eye checks the rule — pentagon surrounded by hexagons — in the area it’s actually looking at, an unresolved edge reads as depth of field rather than as an unfinished drawing. It’s the difference between a ten-minute ball and a forty-minute one, and in most compositions nobody can tell.
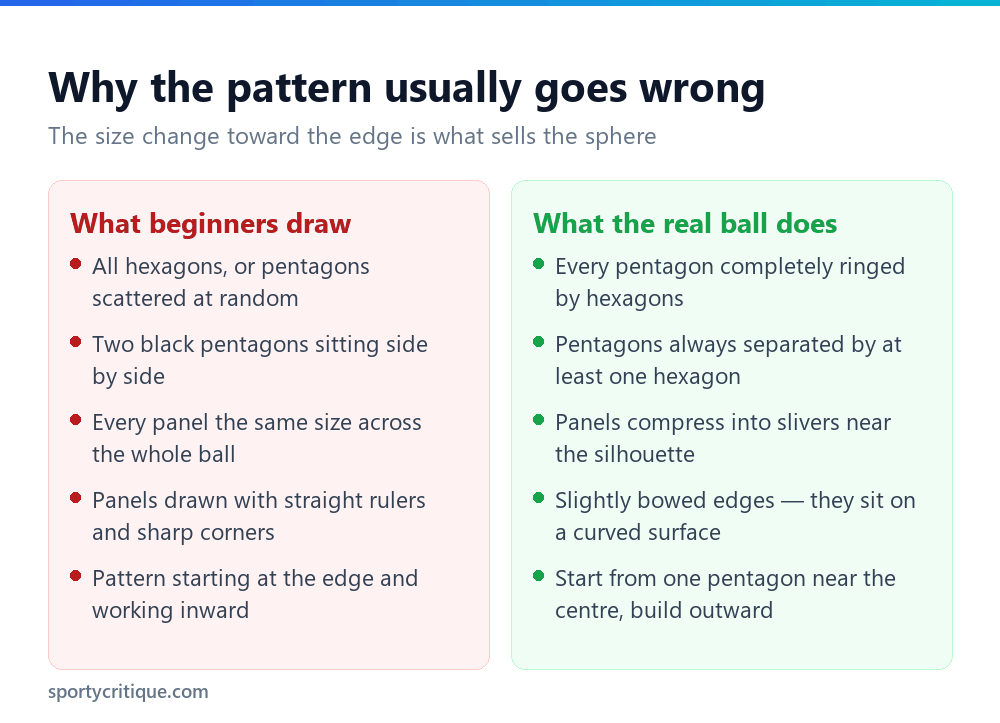
What goes wrong
- ✓Start from one pentagon near the centre and build outward
- ✓Ring every pentagon completely with hexagons
- ✓Compress the panels harder and harder toward the edge
- ✓Share panel edges — one line between two panels, not two
- ✓Vary the black and the white across the sphere as light changes
- ✕Scattering pentagons around the circle at random
- ✕Letting two pentagons touch — the single most visible error
- ✕Keeping panels the same size all the way to the silhouette
- ✕Ruling the panel edges perfectly straight
- ✕Flat black pentagons and paper-white hexagons with no variation
How to get quicker at it
Draw the centre cluster on its own, over and over — one pentagon plus its ring of five hexagons, small, maybe fifteen times on a single sheet. That cluster is the whole pattern in miniature, and once your hand knows it, the rest of the ball is just repetition with progressive squashing.
Then work from a photograph rather than memory for a few attempts. A reference will show you exactly how fast the panels compress near the rim, which is the one thing your imagination consistently underestimates.
Frequently asked questions
How many pentagons and hexagons are on a soccer ball?
Twelve pentagons and twenty hexagons on the classic design — 32 panels in total. The pentagons are traditionally black and the hexagons pale, though the arrangement matters far more than the colours.
Why does my pattern never close up neatly?
Almost always because it was started from the outside. Beginning at the rim leaves you trying to force the last panels together in the middle. Start with one pentagon near the centre and work outward, and the errors get pushed to the edge where compression hides them.
Can two pentagons touch?
Never, on a real ball. Every pentagon is completely surrounded by hexagons. If two black panels are adjacent in your drawing, that’s the thing making it look wrong.
Do I have to draw all 32 panels?
No — you can only see roughly half a sphere at once, so you’re drawing about sixteen, plus fragments around the edge. If the ball is small in a scene, one pentagon and a few surrounding shapes is enough to read correctly.
Is a compass necessary?
More useful here than for other balls, because the panel layout depends on a true circle. Any round object you can trace works just as well.
- →Easier, and a good warm-up for this one — how to draw a basketball and its curved seams
- →How to draw a baseball: two curved seams and evenly spaced stitching
- →Step up to a full figure with how to draw an ice hockey player
- →Or go and use one: how to kick a soccer ball with power and accuracy