Drawing a baseball is easier than you think. With a few steps, you can create a realistic baseball image.
Baseball fans and artists alike find joy in sketching this iconic sports item. Whether you are a beginner or have some drawing experience, learning how to draw a baseball can be both fun and rewarding. In this guide, we will break down the process into simple, clear steps.
You don’t need to be a professional artist to get it right. By the end of this tutorial, you’ll have a great-looking baseball drawing to show off. Ready to get started? Let’s dive in and bring your baseball to life!
Materials Needed
Before you start drawing a baseball, gather all the necessary materials. Proper tools make the drawing process easier and more enjoyable. Here is a list of essential materials you will need.
Drawing Paper
Choose good-quality drawing paper. This helps your pencil strokes look smooth. Standard printer paper works, but thicker paper is better. Drawing paper absorbs pencil marks well, making your work look clean.
Pencils And Erasers
Use pencils with different hardness. A soft pencil (like 2B) creates dark lines. A hard pencil (like 2H) makes light lines. A good eraser is important too. You will need it for corrections and adding highlights. A kneaded eraser is flexible and gentle on paper.
Drawing Compass
A drawing compass helps you draw perfect circles. This is crucial for a baseball. Adjust the compass to the size of the baseball you want to draw. Practice using the compass to get comfortable with it.
Credit: iheartcraftythings.com
Setting Up Your Workspace
Before you start drawing a baseball, it’s important to set up your workspace. A well-organized space helps you focus and create better art. This section will guide you through the steps to create an ideal drawing environment.
Choosing A Comfortable Spot
Pick a place where you can sit comfortably for long periods. A sturdy table and a good chair are essential. Ensure your table is at a height that allows you to draw without straining your back or neck.
Lighting Considerations
Good lighting is crucial for drawing. Natural light is best, so set up near a window if possible. If natural light is not available, use a bright desk lamp. The light should come from the side opposite your drawing hand to avoid shadows.
Gathering Supplies
Having the right supplies makes drawing easier. Here’s a list of basic supplies you will need:
- Pencils: Choose a range of pencils from hard (H) to soft (B).
- Eraser: A good eraser helps correct mistakes.
- Paper: Use smooth, high-quality drawing paper.
- Ruler: For drawing straight lines and circles.
- Sharpener: Keep your pencils sharp for finer details.
Having these supplies ready will ensure a smooth drawing process. Organize your materials within easy reach. This helps maintain focus and flow while drawing.
Drawing The Basic Shape
Drawing a baseball can seem tricky at first. But breaking it down into simple steps makes it manageable. Let’s focus on drawing the basic shape. This is the foundation for a realistic baseball drawing. Follow these steps to create a great outline.
Sketching A Circle
Start with a clean sheet of paper. Draw a light, rough circle. Don’t worry about perfection. Use a pencil for easy erasing. This circle forms the baseball’s basic shape. Keep your lines light and sketchy. You can refine them later.
Refining The Outline
Once you have your circle, go over it again. Make the lines smoother and more defined. Erase any extra marks. This step gives the baseball a clearer shape. Focus on making the circle as round as possible. Take your time.
Ensuring Symmetry
A baseball must look balanced. Check both sides of your circle. Make sure they match. Use a ruler or a piece of paper to measure. This helps in keeping the shape symmetrical. Symmetry is key for a realistic look. Adjust as needed.

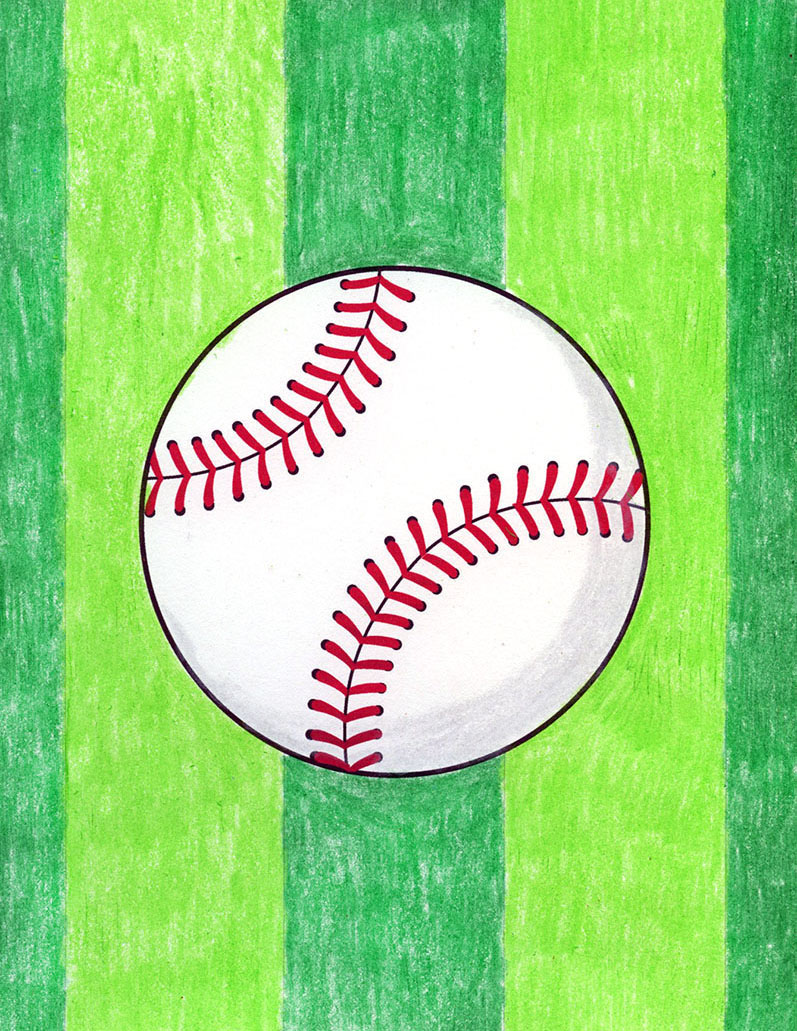
Credit: artprojectsforkids.org
Adding The Seams
Adding the seams to your baseball drawing is essential. Seams give the baseball its distinctive look. They add realism to your artwork. This section will guide you through drawing the seams with ease.
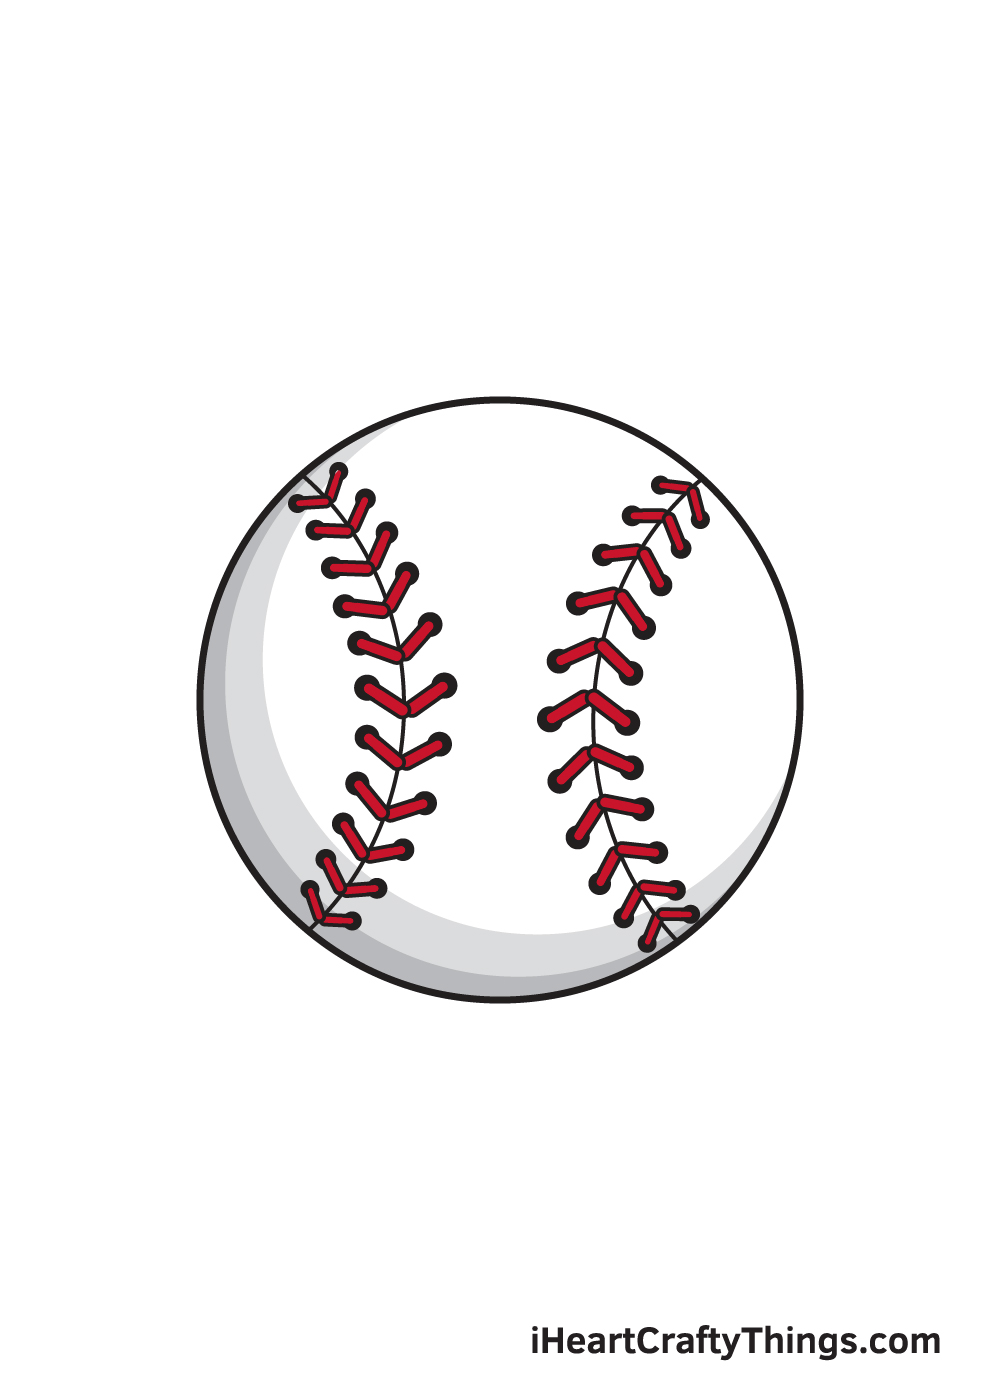
Drawing The Curved Lines
Start by sketching two curved lines across the baseball. These lines should form an “S” shape. They represent the seams of the baseball.
Use light strokes to begin. This will allow for easy adjustments. The curves should be smooth and even. Aim for symmetry on both sides of the ball.
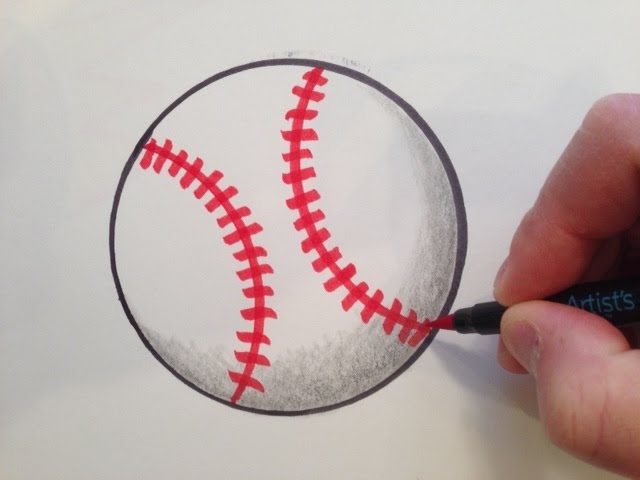
Creating The Stitching Effect
Once the curved lines are in place, it’s time to add the stitching. Draw small, evenly spaced V-shaped marks along the lines. These represent the stitches.
Make sure the V-shapes are consistent in size. They should follow the curve of the seam. This will create a realistic stitching effect.
Maintaining Proportions
Proportions are crucial for a believable drawing. Ensure that the seams and stitches are in proportion to the baseball.
- Keep the stitches evenly spaced.
- Ensure the curved lines are centered.
- Check that both sides of the ball are symmetrical.
Regularly step back and look at your drawing. This helps you maintain proper proportions and balance.
Detailing The Texture
Drawing a baseball requires attention to detail. The texture of the ball is key to making your drawing realistic. Understanding how to shade, highlight the grain, and enhance realism will make your baseball come to life. This section will guide you through each step.
Shading Techniques
To create depth, use shading. Start by identifying the light source. This helps in knowing where shadows fall. Use soft pencils for lighter areas. Darker pencils are good for shadows. Blend the shades gently with a blending stump or your finger. This gives a smooth transition between light and dark areas.
Highlighting The Grain
A baseball has a unique grain pattern. To highlight this, draw tiny lines along the ball’s surface. Use a fine-tip pencil for precision. These lines should follow the curve of the ball. This adds texture and makes the ball look more realistic.
Create highlights by erasing small areas. This mimics the light reflecting off the ball. Use an eraser pencil for accuracy. This step adds more depth and texture.
Enhancing Realism
Enhancing realism involves adding small details. Draw stitches on the baseball. These stitches should be evenly spaced. Use a ruler for straight lines. This ensures the stitches are consistent.
Add tiny imperfections to the ball. Real baseballs have scuffs and dirt marks. Lightly smudge areas to represent these imperfections. This makes the drawing look more authentic.
Refer to a real baseball for reference. This helps in capturing all the small details. The more details you add, the more realistic your drawing will look.
Credit: artprojectsforkids.org
Final Touches
Once you have drawn your baseball, the final touches are crucial. These steps ensure your drawing looks polished and complete. Let’s dive into the final touches to perfect your baseball drawing.
Reviewing The Drawing
Take a step back and observe your baseball drawing. Check if the proportions are correct. Look at the placement of the stitches. Ensure they curve naturally around the ball.
Making Adjustments
Notice any lines that seem off? Use your eraser to correct them. Adjust the stitches if they look uneven. Refine the shape of the baseball if needed. Small changes can make a big difference.
Cleaning Up Smudges
Smudges can distract from your drawing. Use a clean eraser to remove them. Be gentle to avoid tearing the paper. A clean drawing stands out more.
These final touches will bring your baseball drawing to life. Take your time and enjoy the process!
Common Mistakes To Avoid
Drawing a baseball can be fun but also challenging. There are some common mistakes that can make your baseball drawing look off. Avoiding these mistakes will help you create a more realistic and accurate baseball.
Incorrect Proportions
One of the most common mistakes is incorrect proportions. A baseball is a sphere, so the shape must be even and round. If the proportions are off, it won’t look like a baseball. Use a compass or a round object to trace a perfect circle. This will help keep the proportions correct.
Uneven Seams
Uneven seams can ruin a good drawing. The seams on a baseball are curved lines that meet in the middle. They should be evenly spaced and symmetrical. Use light, even strokes to draw the seams. This will help keep them even and natural looking.
Over-shading
Another common mistake is over-shading. Shading can add depth but too much can make the baseball look dirty. Light shading on one side can show light and shadow. Use gentle, light strokes to build up the shading. Avoid pressing too hard with your pencil.
Practice Tips
Drawing a baseball can be challenging, but practice makes perfect. Here are some practice tips to help you improve your baseball drawing skills. Follow these steps and you’ll see improvement in no time.
Regular Sketching
Make a habit of sketching baseballs regularly. Dedicate a few minutes each day to drawing. Consistency is key. Keep a sketchbook handy and draw whenever you have spare time. This will help you build muscle memory.
- Sketch different sizes of baseballs
- Use various types of pencils
- Draw both simple and detailed designs
Studying Real Baseballs
Observe real baseballs closely. Study their patterns, lines, and textures. Notice how light and shadow affect their appearance. Pay attention to details like stitching and seams. This will help you create more realistic drawings.
- Look at baseballs from different angles
- Take pictures for reference
- Note the colors and shades
Experimenting With Angles
Draw baseballs from different angles. Try sketching them from above, the side, or at an angle. This will add variety to your drawings. Experimenting with angles helps you understand the 3D structure of a baseball.
| Angle | Difficulty Level |
|---|---|
| Top View | Easy |
| Side View | Moderate |
| 45-Degree Angle | Challenging |
Practice these tips regularly. You’ll see improvement in your baseball drawings. Happy sketching!
Frequently Asked Questions
How Do You Start Drawing A Baseball?
Begin by drawing a simple circle for the baseball’s shape. Then, add curved lines for the stitching. Finally, refine the details.
What Materials Are Needed To Draw A Baseball?
You will need paper, a pencil, an eraser, and colored pencils or markers. These tools help you achieve a realistic look.
Can Beginners Draw A Baseball Easily?
Yes, beginners can draw a baseball easily. Start with basic shapes and gradually add details. Practice helps improve your skills.
How Can I Make My Baseball Drawing Realistic?
To make your drawing realistic, focus on the stitching details and shading. Observe real baseballs for reference and practice.
Conclusion
Drawing a baseball can be fun and simple. Follow the steps and practice often. Focus on the basic shapes first. Then add the details like stitches. With time, your skills will improve. Remember to enjoy the process. Each drawing will get better.
Keep your lines smooth and steady. Soon, you will draw a perfect baseball. Keep practicing and stay patient. Happy drawing!