Setting a Lacrosse atomic clock is simple and quick. You just need to follow some easy steps.
Lacrosse atomic clocks are popular for their accuracy. They automatically synchronize with the U. S. Atomic Clock, ensuring precise timekeeping. This guide will help you set your Lacrosse atomic clock with ease. Whether it’s a new clock or one that needs resetting, the process is straightforward.
You don’t need advanced technical skills. By the end of this guide, you’ll have your clock set up and running perfectly. Let’s get started!
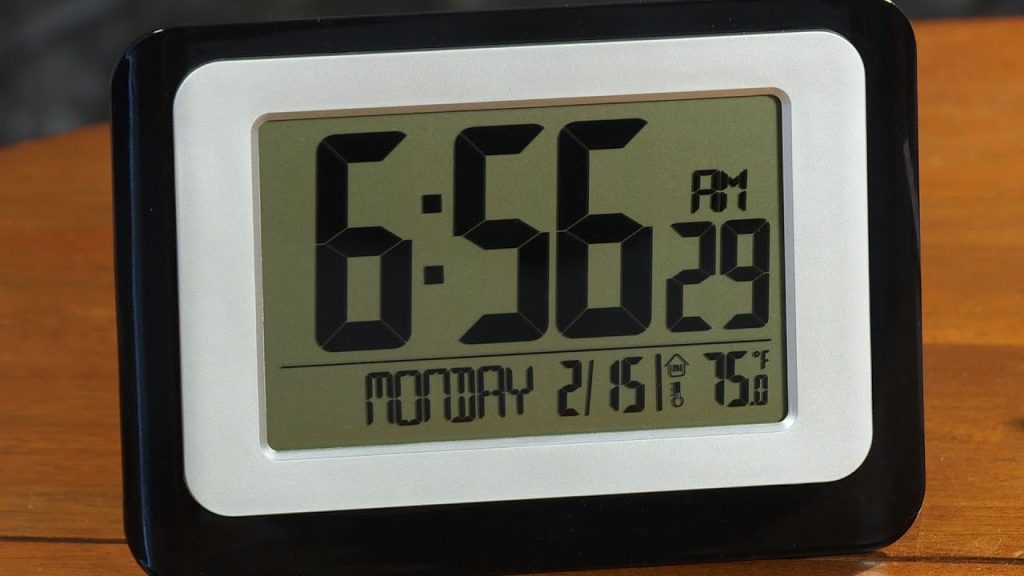
Credit: www.lacrossetechnology.com
Introduction To Lacrosse Atomic Clocks
Lacrosse Atomic Clocks are reliable and precise devices. They are popular for their accuracy. Setting them up might seem complex, but it’s simple with the right guide.
What Is A Lacrosse Atomic Clock?
A Lacrosse Atomic Clock is a timekeeping device. It syncs with the National Institute of Standards and Technology (NIST). This ensures it always displays the correct time. No manual adjustments needed.
These clocks use radio signals. They receive updates from an atomic clock in Colorado. This provides unmatched accuracy. They are perfect for homes, offices, and schools.
Benefits Of Using An Atomic Clock
Atomic clocks offer many benefits. First, they are extremely accurate. You never have to worry about resetting the time.
Second, they adjust automatically for Daylight Saving Time. This feature saves you time and effort.
Third, they often include other useful features. These can be indoor and outdoor temperature readings. They might also show humidity levels.
Lastly, they are easy to read. The digital display is clear and bright. This makes them perfect for any room.

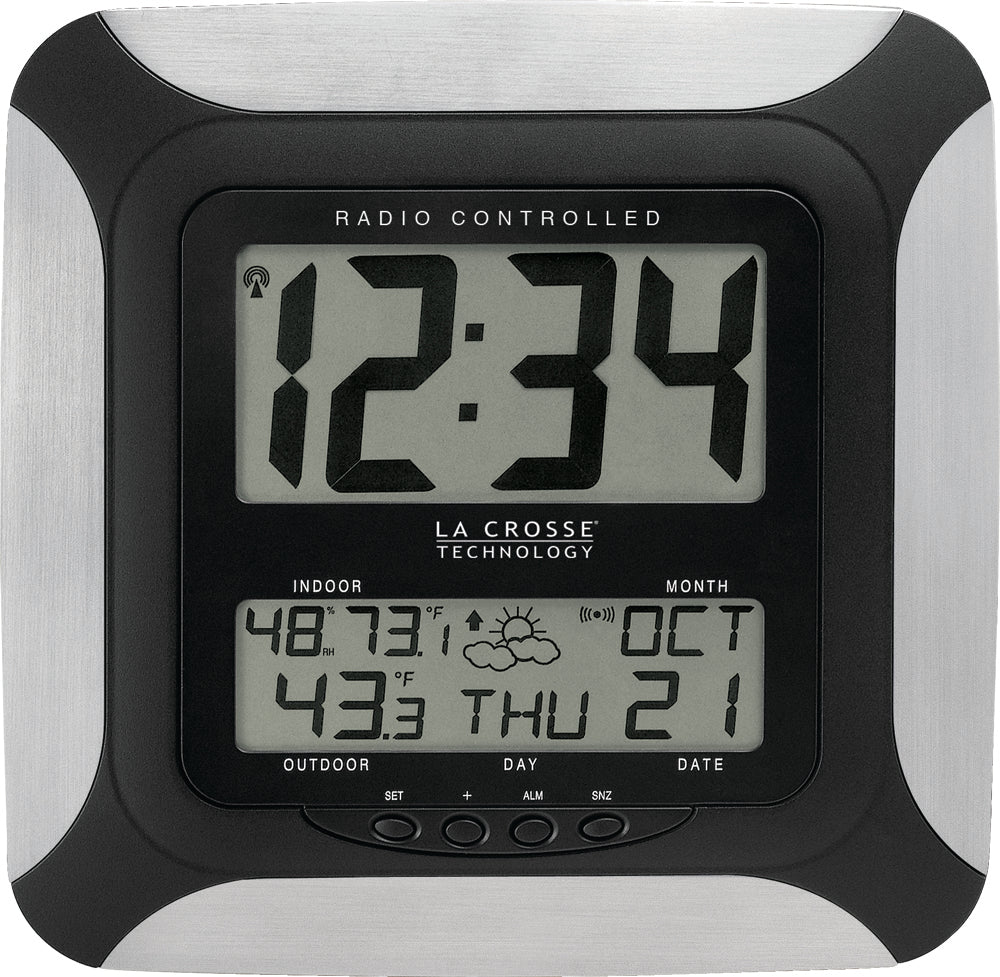
Credit: m.youtube.com
Unboxing Your Lacrosse Atomic Clock
Unboxing your Lacrosse Atomic Clock is an exciting moment. The anticipation of having a precise and reliable clock in your home builds up. It’s important to go through the unboxing process carefully. This ensures that everything is in order and ready for setup. Let’s explore what you need to do step-by-step.
Checking Package Contents
First, check the package contents. Open the box and lay out everything on a table. You should find the clock, an instruction manual, and a power adapter. Sometimes, batteries are included. Make sure nothing is missing. If anything is absent, contact customer support immediately.
Inspecting The Clock
Next, inspect the clock. Look at the screen and the buttons. Ensure there are no scratches or damage. Check the battery compartment, if applicable. Make sure it is clean and ready for batteries. This step is crucial for a smooth setup process. If you find any issues, don’t hesitate to get in touch with the manufacturer. Your clock should be in perfect condition before you proceed.
Installing Batteries
Setting up your lacrosse atomic clock starts with installing batteries. This step is crucial for the clock’s operation. Proper battery installation ensures your clock works accurately. Let’s dive into how to do it right.
Choosing The Right Batteries
First, pick the correct batteries for your lacrosse atomic clock. Check the user manual for specific battery types. Most clocks use AA or AAA batteries. Make sure to buy new, high-quality batteries. Avoid using old or mixed brands. This can affect the clock’s performance.
Inserting Batteries Correctly
Now, insert the batteries correctly. Follow these steps:
- Open the battery compartment. This is usually at the back of the clock.
- Check the positive (+) and negative (-) terminals. Match them with the battery’s ends.
- Insert the batteries. Ensure they fit snugly in their slots.
- Close the battery compartment. Make sure it clicks into place.
Incorrect insertion can cause issues. If the clock doesn’t start, recheck the battery placement. Proper installation is key to a functioning lacrosse atomic clock.
Setting The Clock
Setting your Lacrosse Atomic Clock ensures you always have the correct time. This guide will help you with the steps involved in the initial setup and synchronization process. Let’s dive into the details:
Initial Setup Process
Starting with the initial setup is crucial for your Lacrosse Atomic Clock to function correctly. Follow these steps:
- Insert Batteries: Open the battery compartment and insert the batteries. Ensure they are aligned correctly.
- Power On: Once the batteries are in place, the clock will power on automatically.
- Set the Time Zone: Use the buttons on the clock to select your time zone. Refer to the user manual for specific button functions.
Synchronizing With Atomic Signal
After the initial setup, the clock needs to synchronize with the atomic signal to display the accurate time. Here’s how:
- Place the Clock Near a Window: The clock needs to receive the atomic signal. Placing it near a window helps in better reception.
- Wait for Synchronization: The clock will automatically start searching for the atomic signal. This process can take a few minutes.
- Check the Display: Once synchronized, the clock will display the accurate time. If the time is incorrect, try moving the clock to a different location and repeat the process.
By following these steps, you can easily set your Lacrosse Atomic Clock and ensure it always shows the precise time.
Configuring Time Zone
Setting the correct time zone on your Lacrosse Atomic Clock ensures accurate timekeeping. This step is crucial for the clock to sync properly with the atomic time signals. Follow these simple steps to configure the time zone.
Selecting Your Time Zone
To select your time zone, start by pressing the “Time Zone” button on your clock. You will see different time zones displayed on the screen. Use the arrow buttons to scroll through the options. When you find your time zone, press the “Set” button to confirm. This setting will ensure your clock displays the correct local time.
Adjusting For Daylight Saving Time
Adjusting for Daylight Saving Time (DST) is essential for accurate timekeeping. Find the “DST” button on your clock. Press it once to activate DST mode. Your clock will now automatically adjust for daylight saving changes. This feature saves you from manually updating the time twice a year.
If your area does not observe Daylight Saving Time, press the “DST” button again to deactivate the feature. This ensures your clock remains accurate all year round.
Setting the correct time zone on your Lacrosse Atomic Clock ensures accurate timekeeping. This step is crucial for the clock to sync properly with the atomic time signals. Follow these simple steps to configure the time zone.
Selecting Your Time Zone
| Step | Action |
|---|---|
| 1 | Press the “Time Zone” button. |
| 2 | Scroll through options using arrow buttons. |
| 3 | Select your time zone and press “Set.” |
Adjusting For Daylight Saving Time
- Press the “DST” button to activate DST mode.
- Your clock will adjust for daylight saving changes automatically.
- If your area does not observe DST, press the “DST” button again to deactivate.
These steps ensure your clock remains accurate all year round.
Using Additional Features
Using additional features of your Lacrosse Atomic Clock can enhance its functionality. These features help you get the most out of your clock. This section will guide you on setting alarms and displaying temperature.
Setting Alarms
Setting alarms on your Lacrosse Atomic Clock is simple. First, locate the alarm button. Press it to enter alarm mode. Use the up and down arrows to set the hour. Press the alarm button again to set the minutes. Press the alarm button one more time to confirm. Your alarm is now set.
Displaying Temperature
Your Lacrosse Atomic Clock can display indoor and outdoor temperatures. To view the temperature, press the temperature button. The display will show the current temperature. For outdoor temperature, ensure the sensor is placed outside. The clock will update the temperature reading periodically.
Troubleshooting Common Issues
Setting a lacrosse atomic clock can be easy, but sometimes, issues arise. Here, we will address common problems and their solutions. This will help you keep your clock accurate and reliable.
Signal Reception Problems
Atomic clocks rely on a signal from a radio station. If your clock is not receiving this signal, try these steps:
- Ensure the clock is in an open area. Avoid placing it near metal objects or electronic devices.
- Check the batteries. Weak batteries can affect signal reception.
- Move the clock closer to a window. This can improve signal strength.
- Wait for the clock to attempt synchronization at night. The signal is stronger at this time.
For persistent signal issues, consider manually setting the time. Refer to your clock’s user manual for detailed instructions.
Incorrect Time Display
If your lacrosse atomic clock displays the wrong time, follow these steps:
- Check the time zone setting. Ensure it matches your current location.
- Verify if Daylight Saving Time (DST) is correctly set. Adjust if necessary.
- Replace old batteries with fresh ones. Low battery power can cause time errors.
- Reset the clock. Remove the batteries, wait a few minutes, then reinsert them.
If the problem persists, consult the manufacturer’s website for firmware updates or additional troubleshooting tips.
Maintenance Tips
Setting a Lacrosse Atomic Clock is simple. Insert batteries, place it near a window, and wait for it to sync. Adjust the time zone if needed.
Proper maintenance ensures your Lacrosse Atomic Clock works efficiently. Consistent upkeep extends the clock’s lifespan and accuracy.Cleaning The Clock
Dust and dirt can affect your clock’s performance. Use a soft, dry cloth to wipe the surface. Avoid using water or liquid cleaners. Moisture can damage the internal mechanisms. Clean the clock at least once a month.Replacing Batteries
Batteries power your atomic clock. Change them every six months. This keeps the clock running smoothly. Use high-quality batteries for the best results. Check the battery compartment for corrosion. Clean it if needed before inserting new batteries. “`
Credit: www.shifflerequip.com
Frequently Asked Questions
How Do I Set My Lacrosse Atomic Clock?
To set your Lacrosse Atomic Clock, place it near a window. Insert batteries and wait for the clock to sync with the atomic signal. This process may take a few minutes.
Why Is My Lacrosse Atomic Clock Not Syncing?
If your Lacrosse Atomic Clock is not syncing, ensure it has fresh batteries. Place it near a window for better signal reception. If problems persist, consult the user manual.
Can I Manually Set My Lacrosse Atomic Clock?
Yes, you can manually set your Lacrosse Atomic Clock. Refer to the user manual for step-by-step instructions to adjust the time manually.
How Often Does Lacrosse Atomic Clock Update?
The Lacrosse Atomic Clock updates every night. It synchronizes with the atomic signal to ensure accurate timekeeping. This process maintains the clock’s precision.
Conclusion
Setting a Lacrosse Atomic Clock is easier than it seems. Follow the steps mentioned for a hassle-free setup. Consistency is key. Check your clock regularly to ensure it stays accurate. Enjoy the peace of mind a precise clock brings. Accurate timekeeping helps in daily life.
Now, you’re ready to keep perfect time. Happy clock setting!