Setting the time on a lacrosse clock is simple and quick. You can do it in just a few steps.
Lacrosse games rely on accurate timing for fair play. Knowing how to set the time on a lacrosse clock is a vital skill. Whether you are a coach, player, or referee, understanding this process ensures the game runs smoothly. With the right instructions, you can adjust the clock confidently and avoid any confusion during the game.
In this guide, we will walk you through each step to set the time correctly on a lacrosse clock. You will learn how to manage the clock efficiently and keep the game on track. Let’s get started!
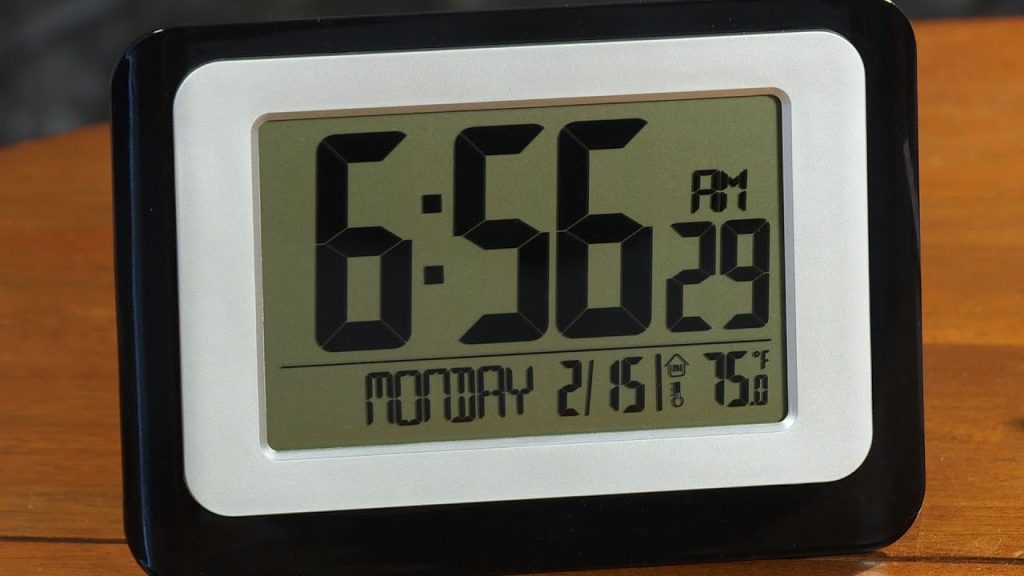
Credit: www.lacrossetechnology.com
Gathering Necessary Tools
Setting the time on a Lacrosse clock requires a few basic tools. To ensure the process goes smoothly, gather all necessary items beforehand. This preparation saves time and helps avoid interruptions.
Required Equipment
First, you need a few essential tools. These include a small screwdriver, batteries, and possibly a cleaning cloth. The screwdriver helps open the clock’s compartment, while the batteries power it. A cleaning cloth keeps the clock clean and free of dust.
Checking Clock Manual
Next, check the clock manual. The manual provides specific instructions for your model. It often includes diagrams and troubleshooting tips. Reading it carefully can prevent mistakes and save time.
Ensure you have the manual handy before starting. If you lost it, many manufacturers offer digital copies online. A quick search with the model number should help you find it. Having this resource nearby is invaluable.
Powering The Clock
Setting the correct time on your Lacrosse Clock starts with powering it up. Properly powering the clock ensures it works smoothly. Follow these steps to get your clock up and running.
Turning On The Clock
First, locate the power button on the back of the clock. Press the button to turn on the clock. You should see the display light up immediately. If it does not, check the power source or batteries.
Ensuring Battery Life
Good battery life is crucial for your Lacrosse Clock. Use high-quality batteries to ensure longevity. Check the battery compartment for any signs of corrosion.
Replace old batteries with new ones if needed. Avoid mixing old and new batteries. This can affect the clock’s performance.
Once the new batteries are in place, secure the battery cover. This protects the batteries and keeps them in good condition.
| Battery Type | Recommended Brand |
|---|---|
| AA | Duracell |
| AAA | Energizer |
If your clock is powered by an adapter, ensure it is plugged in properly. Check the outlet for any issues if the clock does not turn on.
Maintaining good battery life ensures your clock remains accurate. Regularly check and replace batteries to avoid interruptions.
Accessing The Time Setting Mode
Setting the time on a Lacrosse clock is straightforward. First, you need to access the time setting mode. This mode allows you to change the time quickly and accurately. In this section, we will guide you through the steps to access and use this mode.
Navigating Menu Options
Start by turning on your Lacrosse clock. Look for the menu button on the device. Press the menu button to enter the main menu. Use the arrow keys to navigate through the menu options. Look for the option labeled “Time Settings” or similar.
Once you find the time settings option, select it by pressing the enter button. This will take you to the time setting mode. Here, you can make adjustments to the current time.
Entering Time Adjustment Mode
In the time setting mode, you will see fields for hours and minutes. Use the arrow keys to move between these fields. Select the hours field first. Adjust the hour using the up and down arrow keys.
After setting the hours, move to the minutes field. Again, use the arrow keys to adjust the minutes. Ensure the time is set correctly. When you are done, press the enter button to save the new time.
Your Lacrosse clock is now set to the correct time. This process is easy and ensures your clock is always accurate.
Setting The Time
Setting the time on a lacrosse clock is essential for accurate game tracking. Whether you’re preparing for a match or just maintaining the clock, this guide will help. Follow these simple steps to adjust the hours and minutes on your lacrosse clock.
Adjusting Hours
To adjust the hours on your lacrosse clock, follow these steps:
- Locate the hour adjustment button on the clock. It might be labeled “H” or “Hour”.
- Press and hold the hour button until the display blinks.
- Use the up or down buttons to set the correct hour.
- Release the hour button to confirm your setting.
Adjusting Minutes
Adjusting the minutes is just as easy. Here’s how:
- Find the minute adjustment button on the clock. This could be labeled “M” or “Minute”.
- Press and hold the minute button until the display blinks.
- Use the up or down buttons to set the correct minutes.
- Release the minute button to confirm your setting.
By following these steps, you ensure the clock shows the correct time. This is crucial for the game’s accuracy and timing.
Saving The Time Settings
Saving the time settings on a Lacrosse clock ensures accurate timekeeping. This step is crucial for maintaining the correct time display. Follow these steps to save the settings effectively.
Confirming Time Set
First, check the time you’ve set. Look at the hour and minute. Make sure they are correct. If needed, adjust the time again. This step helps avoid any mistakes.
Exiting Time Adjustment Mode
Next, exit the time adjustment mode. Usually, this involves pressing a specific button. Refer to your clock’s manual for exact instructions. Exiting this mode saves your new time settings. This final step ensures your clock displays the correct time.
Testing The Clock
Once you have set the time on your Lacrosse clock, it’s essential to test it. Testing ensures that the clock works correctly and displays accurate time. This step is crucial for maintaining the reliability of your clock.
Running A Test Cycle
To start, initiate a test cycle. Here’s a simple step-by-step guide:
- Press the “Test” button on your clock. This button may be labeled differently, check your manual.
- Observe the clock hands or digital display. Ensure all segments or hands move smoothly.
- Let the clock run for a full cycle. This can be an hour or a set period determined by the clock’s features.
During the test cycle, watch for any irregularities. The clock should operate without any stuttering or pauses.
Checking For Accuracy
Next, check the accuracy of your Lacrosse clock. Follow these steps:
- Compare the clock time with a reliable time source. Use your smartphone or an official time website.
- Note any differences in time. Even a few seconds can matter.
- Adjust the clock if necessary. Use the clock’s adjustment features to correct any discrepancies.
Repeat the testing process if needed. Ensure the clock consistently shows accurate time. This step confirms that the clock is reliable and ready for use.
Remember, regular testing and adjustments keep your Lacrosse clock in perfect working order.
Troubleshooting
Setting the time on a Lacrosse Clock can be straightforward. But sometimes, you might encounter issues. This section will help you troubleshoot common problems. It will also guide you on when to seek professional help.
Common Issues
Here are some common issues you might face:
- Clock not displaying the correct time: Make sure the clock is properly plugged in and the batteries are not dead.
- Buttons not responding: Check if the buttons are clean and not stuck. Dust and dirt can sometimes cause this issue.
- Clock resetting itself: This could be due to a power surge or weak batteries. Try replacing the batteries and see if the issue persists.
- Display screen is blank: Ensure the power source is working. If the clock runs on batteries, replace them with new ones.
When To Seek Help
Sometimes, the issues can be more complex. You might need professional help in the following cases:
- Persistent display issues: If the screen remains blank or shows incorrect data even after troubleshooting, it might be a hardware issue.
- Button malfunction: If cleaning and basic troubleshooting do not fix unresponsive buttons, they might need replacement.
- Internal errors: If the clock resets frequently or shows error messages, internal components might be faulty.
- Power problems: If the clock does not turn on despite changing the power source, seek a professional to check the internal wiring.
In such cases, contact the manufacturer or a qualified technician. They can provide the necessary repairs and ensure your Lacrosse Clock functions correctly.

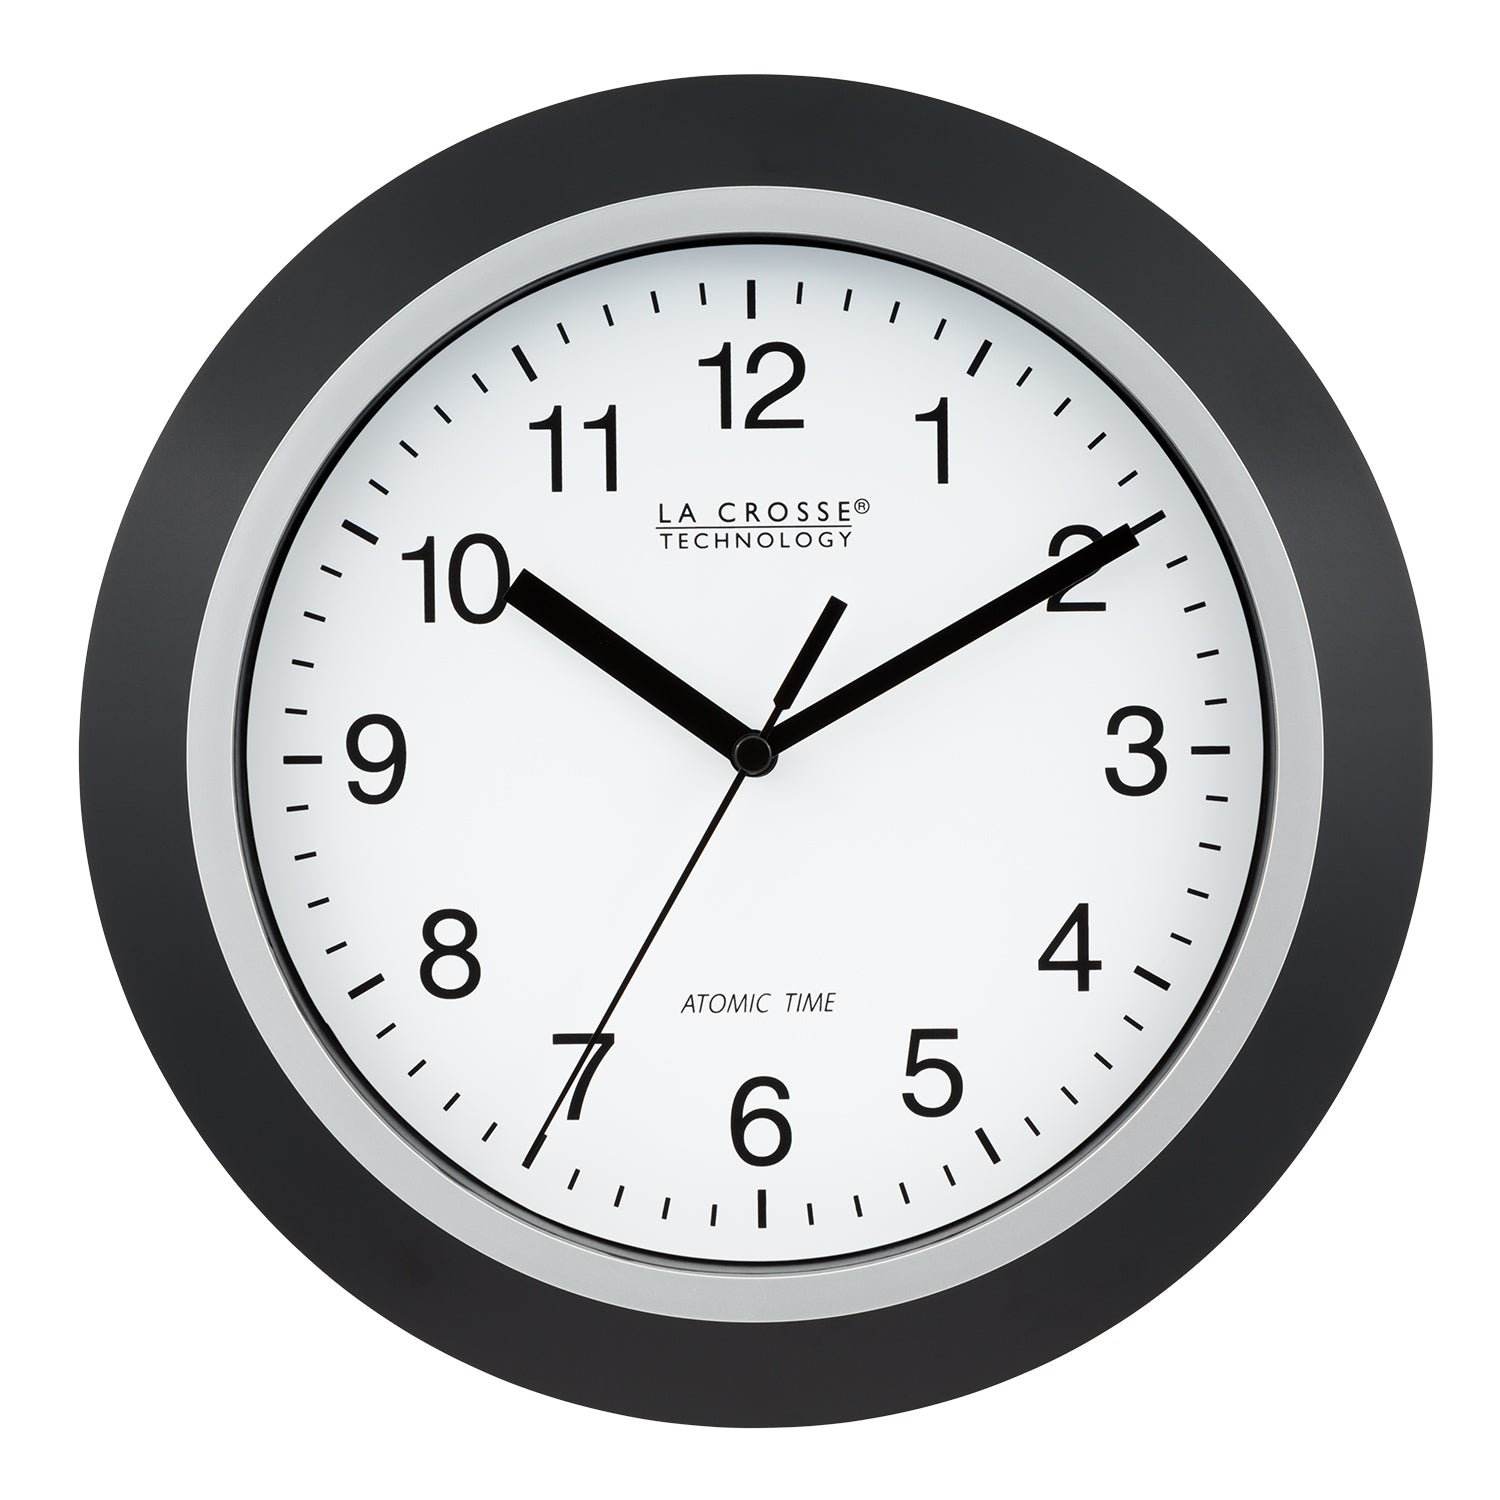
Credit: m.youtube.com
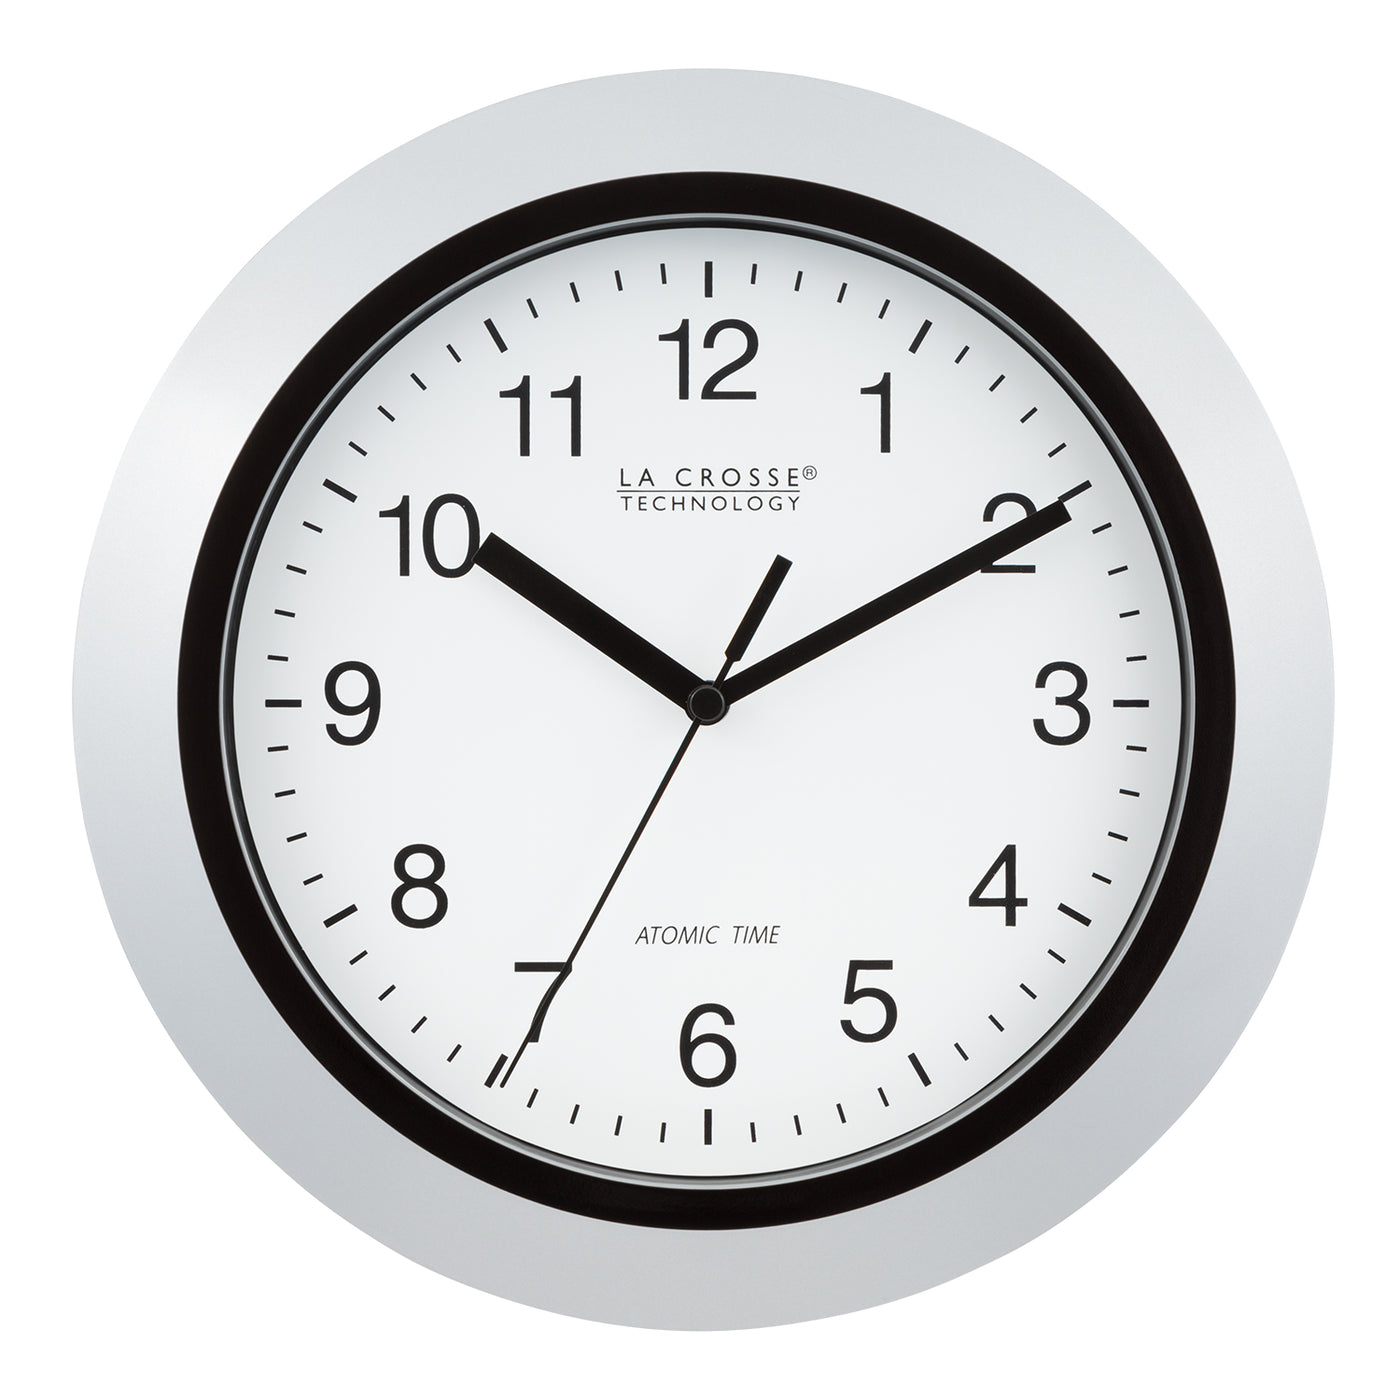
Credit: www.lacrossetechnology.com
Frequently Asked Questions
How Do You Set The Time On A Lacrosse Clock?
To set the time, press the “Time Set” button. Use the up and down arrows to adjust hours and minutes. Confirm by pressing “Enter. “
Can I Reset A Lacrosse Clock Easily?
Yes, resetting is simple. Press the “Reset” button for a few seconds. The clock will reset to its factory settings.
What Buttons Are Used For Setting Time?
Use the “Time Set,” up, and down buttons. These buttons help you adjust the hours and minutes accurately.
Does A Lacrosse Clock Have A 12/24 Hour Format?
Yes, Lacrosse clocks often have a 12/24 hour format option. You can switch formats by accessing the clock settings.
Conclusion
Setting the time on a Lacrosse clock is simple. Follow the steps provided, and you will succeed. Remember to check the clock’s manual for specific instructions. Practice makes perfect. Over time, the process will become second nature. With these tips, you can ensure accurate game timing.
A properly set clock enhances your game experience. Now, you’re ready to enjoy the game with confidence. Happy timing!