Setting up a billiards table may seem tough, but it’s not. With some guidance, you can do it right.
Billiards is a classic game enjoyed by many. Having your own table at home adds fun and convenience. But first, you need to set it up correctly for the best play experience. This guide will walk you through each step, ensuring your table is ready for action.
From choosing the right spot to leveling the table, we cover it all. You’ll soon have a perfect setup for endless hours of enjoyment. Ready to dive in? Let’s get started!
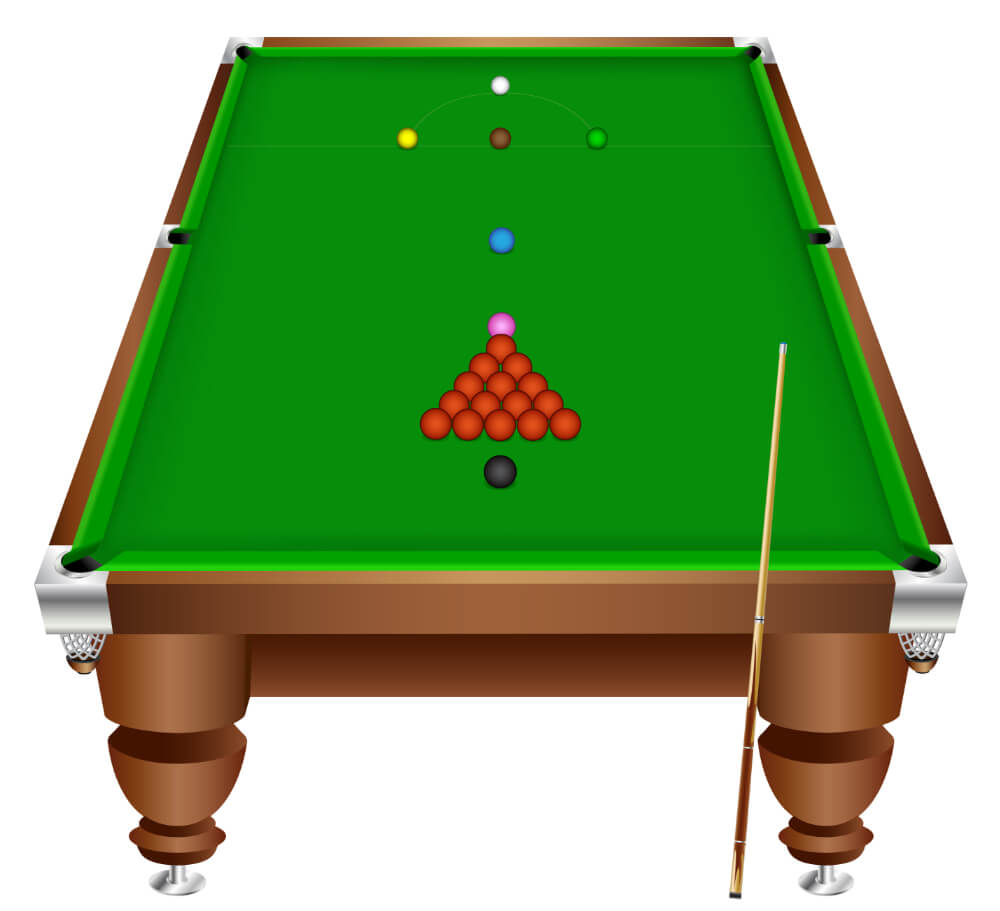
Credit: www.libertygames.co.uk
Choosing The Right Location
Choosing the right location for your billiards table is crucial. It ensures you have enough space to play comfortably. It also affects the longevity of the table. Below are some key aspects to consider.
Room Size
The size of the room directly impacts your playing experience. Make sure the room is large enough to accommodate the table and players. Use the table below for reference:
| Billiards Table Size | Recommended Room Size |
|---|---|
| 7-foot table | 16 x 13 feet |
| 8-foot table | 17 x 13.5 feet |
| 9-foot table | 18 x 14 feet |
These dimensions include space for cue sticks and player movement.
Floor Leveling
Ensure the floor is level before setting up your billiards table. A level floor prevents the balls from rolling unevenly.
- Use a spirit level to check the floor.
- If the floor is uneven, use shims to level the table.
- Check the level again after placing the table.
A stable and level floor ensures a fair game. It also protects your table from damage.
Gathering Necessary Tools
Setting up a billiards table can seem daunting. But, with the right tools, it becomes a manageable task. Before diving into the assembly, gather all the necessary tools and accessories. This will ensure a smooth and efficient setup process.
Essential Tools
To start, you need a set of essential tools. These are crucial for the successful setup of your billiards table.
- Measuring Tape: Accurate measurements are key. Ensure your table fits perfectly in the designated space.
- Level: A level table is vital. Use a carpenter’s level to check and adjust accordingly.
- Socket Wrench Set: Many tables require bolts to be tightened. A socket wrench set will make this easier.
- Drill: Some parts may need drilling. A power drill will help you handle this efficiently.
- Screwdriver: Both Phillips and flathead screwdrivers are often needed.
- Rubber Mallet: This helps in gently tapping parts into place without causing damage.
Optional Accessories
While not essential, certain accessories can enhance your table setup and playing experience.
- Pool Table Brush: Keeps the felt clean and extends its life.
- Table Cover: Protects your table from dust and spills when not in use.
- Pool Cue Rack: Organizes and stores your cues neatly.
- Table Lighting: Ensures proper lighting for a better playing experience.
- Ball Cleaner: Maintains the condition and performance of your billiard balls.
Assembling The Frame
Setting up a billiards table can seem daunting. But with a clear guide, it’s simple. The first step is assembling the frame. This section will show you how to unpack the components and connect the frame properly.
Unpacking Components
Before starting, ensure you have all the parts. Check the instruction manual for a list of components. You should find:
- Table legs
- Side rails
- Corner brackets
- Center supports
- Bolts and screws
Lay out all pieces on a flat surface. This helps you see everything clearly and keeps things organized. Handle each piece carefully to avoid damage.
Some tables come with extra parts. Keep these aside in a safe place. You might need them later.
Connecting The Frame
Now, begin connecting the frame. Start by attaching the table legs. Use the bolts and screws provided. Ensure each leg is firmly secured.
Next, attach the side rails. These form the main structure. Align the rails with the legs and use corner brackets to secure them. Tighten the bolts but avoid over-tightening.
Then, add the center supports. These provide stability to the table. Place them in the middle and connect them to the side rails. Use screws to fasten them securely.
| Component | Action |
|---|---|
| Table Legs | Attach and secure with bolts |
| Side Rails | Align and secure with corner brackets |
| Center Supports | Place in the middle and fasten with screws |
Double-check all connections. Make sure everything is tight and stable. A well-connected frame ensures a level playing surface.
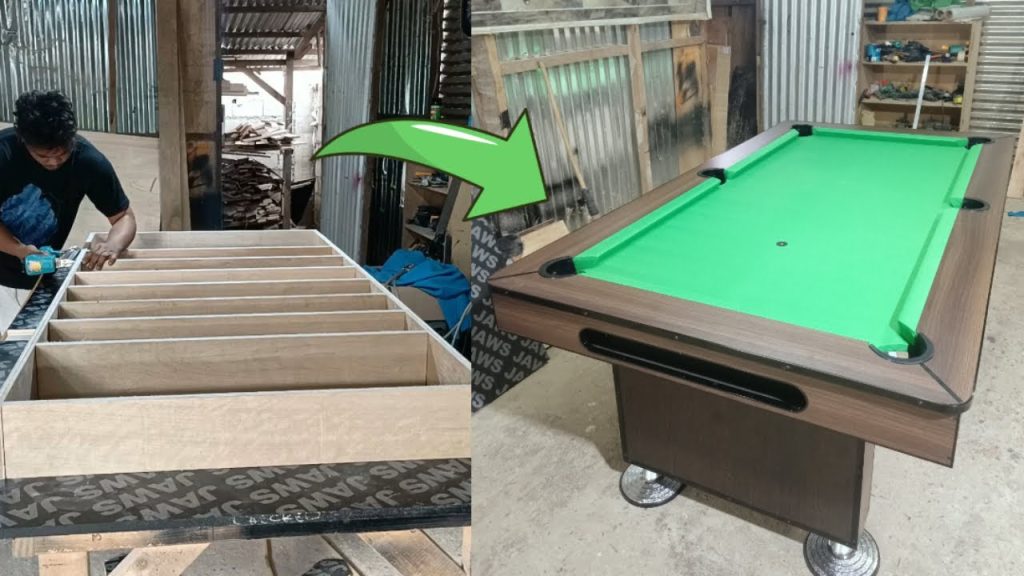
Credit: www.youtube.com
Installing The Slate
Installing the slate is a crucial step in setting up a billiards table. The slate ensures a smooth and level playing surface. Precision is key during this process to avoid any irregularities that could affect gameplay. Follow the steps carefully to achieve the best results.
Positioning The Slate
Begin by placing the first piece of slate onto the table frame. Ensure it is centered and aligns with the table’s edges. Use a level to check that the slate is even. If it’s not, adjust the table legs until it is perfectly horizontal. Repeat this process for the remaining slate pieces.
Once all pieces are in place, ensure they are tightly butted against each other. This will prevent gaps that could affect the game. Double-check the alignment and level of each piece for accuracy.
Sealing The Seams
After positioning the slate, focus on sealing the seams. Use beeswax or a specialized billiards table seam filler. Melt the beeswax and carefully apply it to the seams between the slate pieces. Ensure the wax fills the gaps completely.
Allow the wax to cool and harden. Once it has set, use a putty knife to scrape off any excess wax, creating a smooth surface. Finally, sand the seams lightly to ensure a seamless transition between slate pieces. This step is crucial for a flawless playing experience.
Leveling The Table
Leveling a billiards table is crucial for a fair game. A perfectly level table ensures the ball rolls smoothly. Even small imperfections can affect the game.
This section will help you level your billiards table. Follow these steps for a seamless experience.
Using A Level
Place a carpenter’s level on the table. Start at the center, then move to the edges. Check the bubble in the level. It should be in the middle. This means the table is level.
If the bubble is not in the middle, you will need to adjust the table. Repeat the process until the bubble stays centered.
Adjusting The Legs
Most billiards tables have adjustable legs. Start by lifting one corner of the table. Turn the leg adjuster clockwise to lower the table. Turn it counterclockwise to raise it.
Adjust each leg until the table is level. Use the level to check your progress. Adjust the legs in small increments.
Keep checking the bubble in the level. Make small adjustments as needed. Ensure the table is level from all sides.

Credit: www.youtube.com
Attaching The Felt
Attaching the felt is a crucial step in setting up a billiards table. The felt provides a smooth surface for the balls to glide on. Proper attachment ensures the table remains in good condition. Let’s break down the process into manageable steps.
Cutting The Felt
First, measure the table. Measure the length and width accurately. Add a few extra inches to each side. This extra fabric allows for adjustments.
Lay the felt flat on a clean surface. Use sharp scissors to cut the felt. Make sure your cuts are straight. This will help during the stapling process.
Stapling The Felt
Start at the center of one end. Pull the felt tight. Staple it to the wooden frame. Move to the opposite end. Pull the felt tight again. Staple it in place.
Work your way to the corners. Pull the felt snugly. Staple it securely. Smooth out any wrinkles as you go. Make sure the felt is even and taut.
After all sides are stapled, check for loose spots. Add extra staples if needed. Trim any excess felt. Your table should now have a smooth playing surface.
Installing The Rails And Pockets
Setting up a billiards table can be a fun project. One of the most important steps is installing the rails and pockets. Proper installation ensures that the balls bounce correctly and that the game is fair.
Attaching The Rails
First, gather all the parts and tools needed. You will need screws, a screwdriver, and the rails. Most rails come pre-drilled for easy installation. Follow these steps:
- Align the rail with the edge of the table.
- Insert the screws into the pre-drilled holes.
- Tighten each screw securely with a screwdriver.
- Repeat for all rails, ensuring they are snug and even.
Double-check that each rail is firmly attached. Loose rails can affect the game’s accuracy.
Securing The Pockets
Next, install the pockets. Pockets catch the balls after a successful shot. Here is how to secure them:
- Place the pocket in the corner or side opening.
- Use screws to attach the pocket to the table frame.
- Make sure the pocket is level and secure.
- Repeat for all pockets.
Ensure each pocket is tightly secured. Loose pockets can cause balls to bounce out.
| Task | Tools Needed | Steps |
|---|---|---|
| Attaching the Rails | Screws, Screwdriver | Align, Insert screws, Tighten, Repeat |
| Securing the Pockets | Screws, Screwdriver | Place, Attach, Level, Repeat |
Following these steps ensures that your billiards table is ready for play. Proper installation of rails and pockets is crucial for an enjoyable game.
Final Touches And Maintenance
Setting up a billiards table is not just about placing it in a room. Final touches and maintenance are key to ensuring your table stays in top condition. This section covers stability checks and regular care tips.
Checking For Stability
Stability is crucial for a good billiards game. Even a slight wobble can affect play. Follow these steps to check for stability:
- Inspect the Legs: Make sure all legs are firmly on the floor. Adjust if needed.
- Level the Table: Use a carpenter’s level. Place it on the table to check for evenness.
- Tighten Screws: Check all screws and bolts. Tighten them if loose.
If your table is uneven, use shims under the legs. These small wedges can help level your table.
Regular Maintenance Tips
Regular maintenance keeps your billiards table in excellent condition. Here are some tips:
- Brush the Felt: Use a special table brush. Clean the felt after each game.
- Keep It Covered: Use a table cover. This prevents dust and damage.
- Clean the Balls: Wipe the balls with a damp cloth. Do this regularly.
- Check the Rails: Ensure the rails are secure. They should not be loose.
A regular maintenance schedule can extend the life of your billiards table. Below is a simple table to help you keep track:
| Task | Frequency |
|---|---|
| Brush the Felt | After Each Game |
| Cover the Table | Daily |
| Clean the Balls | Weekly |
| Check Screws and Rails | Monthly |
Keeping these tips in mind ensures your table remains in good shape for years.
Frequently Asked Questions
How Do You Level A Billiards Table?
First, place a carpenter’s level on the table. Adjust the legs until the bubble centers. Repeat on all sides for accuracy.
What Tools Do I Need To Set Up A Billiards Table?
You need a carpenter’s level, wrench, measuring tape, and possibly a screwdriver. These tools will help you properly assemble and level the table.
How Do You Assemble A Billiards Table?
Start by setting up the frame. Attach the legs, then place the slate on top. Secure it with screws and level it.
How Do You Install Felt On A Billiards Table?
First, stretch the felt over the slate. Secure it with adhesive or staples underneath. Smooth out any wrinkles and trim excess material.
Conclusion
Setting up a billiards table can be simple. Follow the steps carefully. First, choose a flat, sturdy surface. Assemble the table frame and attach the legs. Level the table using a carpenter’s level. Next, lay the slate pieces and secure them.
Apply the felt, ensuring no wrinkles. Finally, arrange the balls and enjoy playing. With practice, setup gets quicker. Soon, your billiards table will provide hours of fun. Happy playing!