How to Restring a Lacrosse Head: Step-by-Step Guide for Beginners
Restringing a lacrosse head can seem challenging at first. But with the right steps, anyone can do it.
A well-strung lacrosse head is crucial for good performance on the field. Whether your old strings are worn out or you want to customize your setup, learning how to restring can greatly improve your game. In this guide, you’ll learn the basics of restringing, step-by-step.
We will cover the tools needed, the process, and tips to ensure your lacrosse head is ready for action. This skill will not only save you money but also give you a deeper understanding of your equipment. Let’s get started on getting your lacrosse head in top shape.

Credit: www.youtube.com
Preparing The Lacrosse Head
Preparing the lacrosse head is the first and vital step in restringing. This process ensures the head is ready for new strings. Proper preparation leads to better performance on the field. Follow these steps to get your lacrosse head ready.
Removing Old Strings
Begin by removing the old strings from the lacrosse head. Use scissors or a string cutter. Cut the strings carefully to avoid damaging the head. Remove all pieces of the old strings, including knots and frayed ends. This provides a clean slate for the new strings.
Cleaning The Head
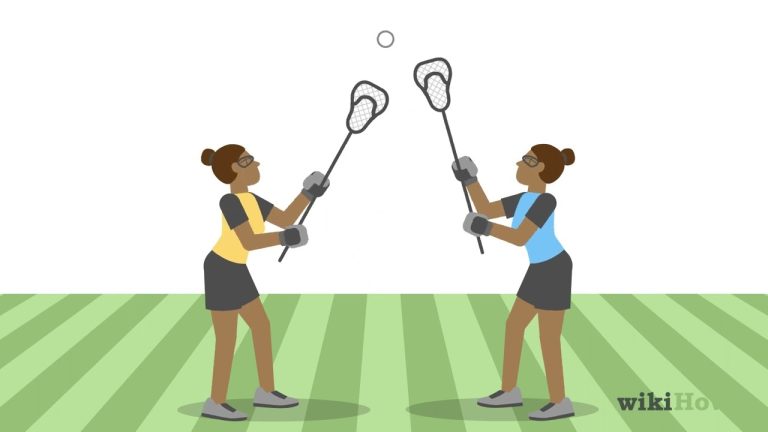
After removing the old strings, clean the lacrosse head. Use warm water and mild soap. Scrub the head gently with a soft brush or cloth. Focus on removing dirt, grime, and any leftover string debris. Rinse thoroughly to remove all soap residue. Dry the head completely with a clean towel.
Ensure the head is dry before moving to the next step. A clean and dry head helps the new strings last longer. It also improves the overall performance of the lacrosse stick.

Credit: www.wikihow.fitness
Choosing The Right String
Choosing the right string is crucial for restringing a lacrosse head. Different strings offer varied benefits, affecting your performance on the field. Understanding the types and selecting the best one can make a significant difference.
Types Of Strings
Lacrosse strings come in various types. The most common ones are mesh, sidewall, and shooting strings. Each type serves a different purpose.
Mesh strings are popular for their ease of use and consistency. They help in controlling the ball better.
Sidewall strings are vital for securing the mesh to the head. They add stability and structure to your lacrosse stick.
Shooting strings influence the ball’s release and accuracy. They come in different materials like nylon and leather.
Selecting The Best String
Selecting the best string depends on your play style and needs. For beginners, mesh strings are a great starting point. They offer a good balance of control and ease of use.
If you play in different weather conditions, consider weatherproof strings. These strings maintain performance in both dry and wet conditions.
Experienced players might prefer specific string types for better customization. Choose strings that enhance your strengths and improve your weaknesses.
Always check the durability of the string. High-quality strings last longer and perform better.
Starting With The Top String
Starting with the top string is crucial in restringing a lacrosse head. This step sets the foundation. It ensures the pocket forms correctly. A well-done top string provides stability and control. Follow these steps to get it right.
Measuring The Top String
First, measure your top string. Use a piece of string or lacrosse mesh. It should be about 2 feet long. This length allows for easy tying and adjustments. Lay the string flat. Double-check the length before cutting. Accuracy here saves time and effort later.
Securing The Top String
Next, secure the top string to the lacrosse head. Start at the center hole of the head. Thread the string through the top of the mesh. Pull it through the first hole. Make sure it’s snug, but not too tight. Repeat this for each hole. Work from the center to the sides. This method ensures even tension across the top string.
Once all holes are threaded, tie off the ends. Use a simple knot to secure them. Check for any loose sections. Tighten as needed. Your top string should now be firm and stable.
Stringing The Sidewalls
Learning to string the sidewalls of a lacrosse head is crucial. It helps keep your pocket in place and ensures consistency in your game. Follow these steps to string the sidewalls like a pro. It may seem tricky at first, but practice makes perfect.
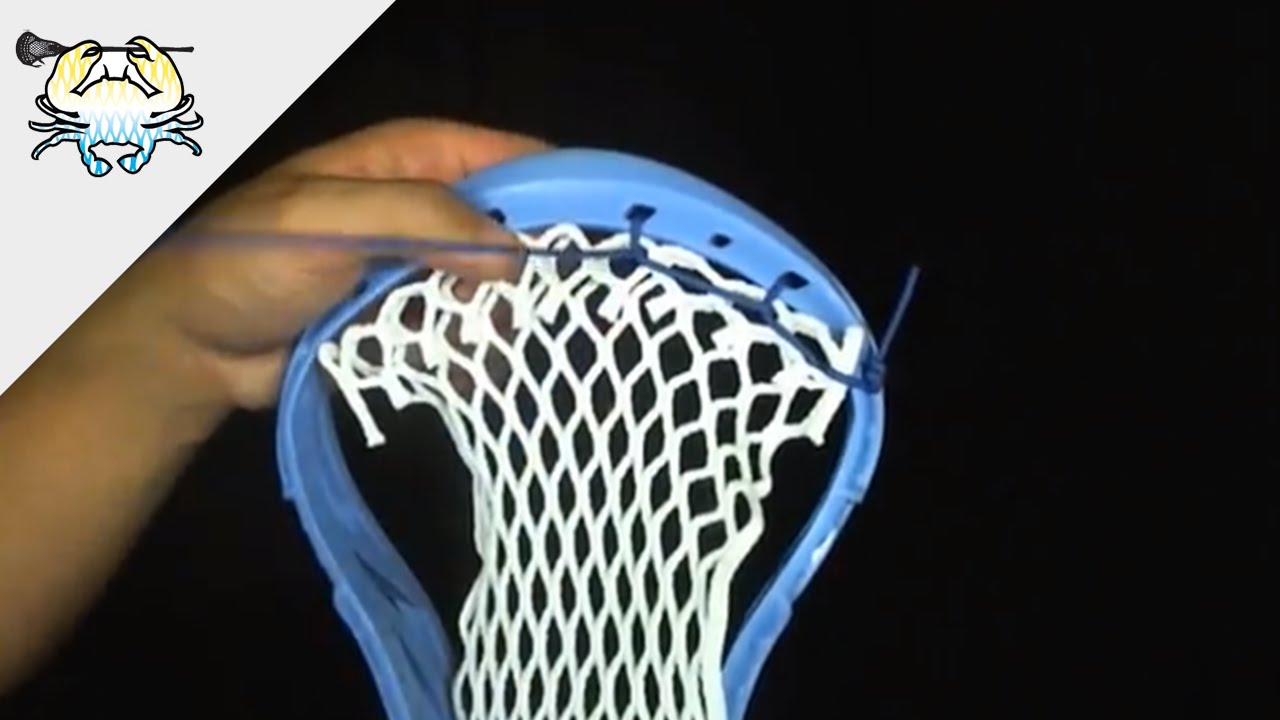
Sidewall Knots
Sidewall knots secure the mesh to the sidewall strings. Start by threading the string through the top hole of the sidewall. Pull it tight to make a knot. Then, loop the string through the next hole in the mesh. Pull it back through the sidewall hole.
Make sure each knot is tight. This prevents the mesh from moving. Continue this pattern down the sidewall. Check your work as you go. Tight knots are essential for a consistent pocket.
Tightening The Sidewalls
Tightening the sidewalls is a key step. Begin at the top of the head. Pull the sidewall string taut. Ensure each section is tight before moving on. This keeps the mesh secure and the pocket stable.
After stringing the sidewalls, double-check your knots. Make adjustments if necessary. A well-strung sidewall improves your game. Consistency is key. Keep practicing and refining your technique.
Stringing The Bottom Lace
Stringing the bottom lace of a lacrosse head ensures proper tension. Start by threading the lace through the bottom holes. Adjust and secure tightly for optimal performance.
Stringing the bottom lace of a lacrosse head is crucial. It secures the pocket and affects the control of the ball. Correctly stringing this lace ensures your lacrosse stick performs well on the field.Attaching The Bottom Lace
First, choose a durable bottom lace. Thread it through the bottom holes of the lacrosse head. Start from the outside and pull it through to the inside. Make sure both ends are even in length. Secure the lace with a knot. This prevents it from slipping during play. Next, weave the lace through the mesh. Start at one end and work your way to the other. Keep the lace tight but not too tight. This step ensures the pocket holds its shape.Adjusting For Pocket Depth
After attaching the bottom lace, adjust the pocket depth. This step is essential for ball control. Loosen the bottom lace to create a deeper pocket. Tighten it for a shallower pocket. Test the pocket by placing a ball in it. The ball should sit comfortably without falling out. Ensure the pocket is symmetrical. Adjust the lace on both sides evenly. A balanced pocket improves the accuracy of your throws. Lastly, double-check the knots. They should be tight and secure. Loose knots can affect the performance of the stick. By following these steps, you ensure your lacrosse stick is ready for play. A well-strung bottom lace makes a big difference. “`Weaving The Shooting Strings
Weaving the shooting strings in a lacrosse head is a critical step. This ensures better control and accuracy during play. Properly woven shooting strings can make all the difference.
Types Of Shooting Strings
There are various types of shooting strings, each with unique benefits:
- Straight shooting strings: These are the most common. They provide a consistent release.
- U shooting strings: These add a bit of whip. They help in creating a smoother release.
- V shooting strings: Similar to U strings but with a sharper angle. They are used for a quicker release.
Proper Weaving Technique
Weaving shooting strings properly is essential. Follow these steps for the best results:
- Measure the string: Cut the string to the appropriate length. Around 18 inches is usually enough.
- Start from the sidewall: Begin weaving from one side of the head. Thread the string through the first hole.
- Weave through the mesh: Weave the string over and under the mesh diamonds. Keep it tight but not overly tight.
- Secure the ends: Once you reach the other side, tie off the string securely. Make sure there are no loose ends.
Use these techniques to ensure your lacrosse head performs well. Remember, practice makes perfect. Keep working on your skills for the best results.
Final Adjustments
Once you have strung your lacrosse head, you need to make some final adjustments. These adjustments ensure your pocket is perfect and ready for play. This step involves testing the pocket and making necessary tweaks.
Testing The Pocket
First, check the depth and shape of the pocket. Hold the stick and give it a few shakes. Does the ball stay in place? If not, your pocket may be too shallow or too deep.
Next, cradle the ball and pass it around. This helps you feel how the pocket handles the ball. Make sure it feels right in your hand and responds as you expect. You can also shoot a few balls to see how the pocket performs under pressure.
Making Necessary Tweaks
After testing, you may need to make some tweaks. These small adjustments can make a big difference.
- Adjust the sidewall strings: Tighten or loosen them to change pocket depth.
- Check the shooting strings: Adjust their tension to improve ball release.
- Examine the bottom string: Tighten or loosen it to fine-tune the pocket shape.
Use a screwdriver to adjust the screws if needed. Make sure everything is tight and secure. This helps keep your pocket in the right shape during play.
Finally, give the stick another test. Ensure all adjustments have improved the pocket’s performance. Your lacrosse head is now ready for the field.

Credit: stringking.com
Maintenance Tips
Keeping your lacrosse head in top shape can make a big difference. Regular maintenance helps ensure your equipment lasts longer and performs better. Here are some key maintenance tips to help you get the most out of your lacrosse head.
Regular Checks
Inspect your lacrosse head after every game or practice. Look for any signs of wear and tear. Check the strings for fraying or loosening. Make sure the pocket holds its shape. If you notice any issues, address them immediately. This prevents bigger problems later.
When To Restring Again
Restring your lacrosse head if the pocket becomes too loose. A loose pocket affects your throw and catch. If the strings are frayed or broken, it’s time to restring. Also, consider restringing if your performance drops. Fresh strings can improve control and accuracy.
Frequently Asked Questions
How Do You Start Restringing A Lacrosse Head?
Begin by removing the old string and cleaning the head. Then, use a sidewall string to start from the top holes, securing tightly.
What Tools Do I Need To Restring A Lacrosse Head?
You will need lacrosse strings, scissors, a lighter, and a stringing tool. These are essential for a proper restringing.
How Often Should I Restring My Lacrosse Head?
Restring your lacrosse head every season or when it shows wear. Regular maintenance ensures optimal performance.
Can I Restring A Lacrosse Head Myself?
Yes, with practice and the right tools, you can restring a lacrosse head. Follow a step-by-step guide for best results.
Conclusion
Restringing a lacrosse head can seem difficult. With practice, it gets easier. Follow these steps carefully. Use the right tools and materials. Adjust the tension as needed. This will improve your game. A well-strung head gives better control. Also, it enhances shot accuracy.
Don’t forget to check your strings regularly. This ensures optimal performance. Happy playing and good luck!