How to Re-Tip a Pool Cue Yourself: Step-by-Step

Knowing how to re-tip a pool cue yourself saves a trip to the pro shop and costs a few dollars instead of $15 to $25 in labor. Here’s the full process, from slicing off the old tip to shaping and scuffing the new one, using tools most players already have or can pick up cheaply.
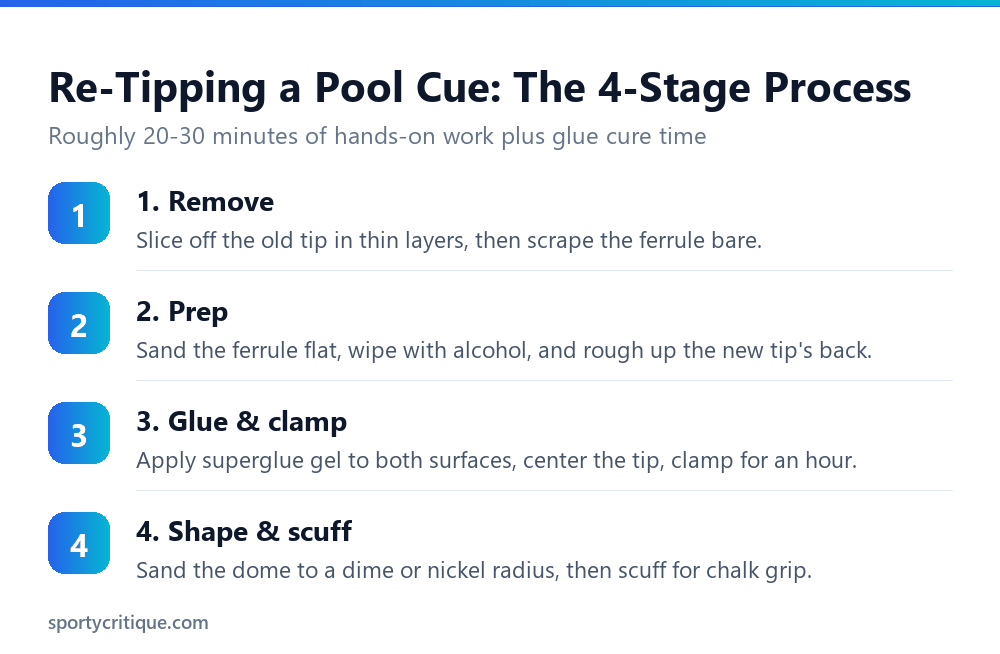
To re-tip a pool cue yourself: slice off the old tip with a sharp blade, sand the ferrule flat and wipe it with rubbing alcohol, rough up the back of a new leather tip on fine sandpaper, apply a thin layer of superglue gel to both surfaces, clamp the tip in place for about an hour, then shape and scuff it once the glue cures. The whole job takes roughly 20 to 30 minutes plus glue-curing time, and costs a few dollars in tips versus $15 to $25 at a pro shop.
A cue tip wears down with every session, and once it’s flattened, mushroomed over the ferrule edge, or chipped, it stops holding chalk properly and starts causing miscues. Learning how to re-tip a pool cue is one of the few pieces of cue maintenance you can genuinely do at home with basic tools, and once you’ve done it once, it’s a five-minute job the second and third time.
- →The full job takes 20-30 minutes of hands-on work, plus roughly an hour of glue cure time
- →A dime or nickel radius dome is the standard shape for most players; flatter tips are for advanced players who use more side spin
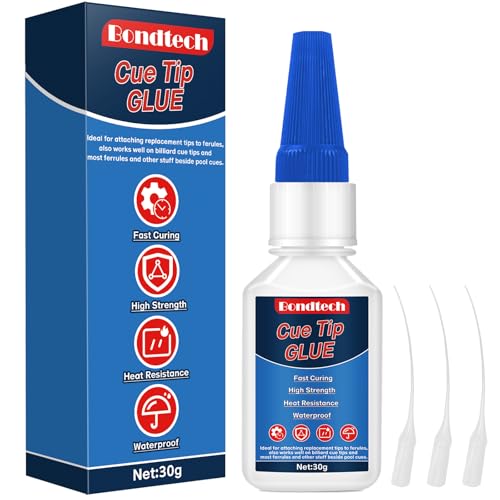
- →Superglue gel bonds faster and holds better for this use than standard superglue liquid
- →Sizing the tip slightly larger than the ferrule and sanding it down beats starting too small
- →Skipping the alcohol wipe on the ferrule is the single most common reason a new tip fails to bond
Table of Contents
Tools and materials you’ll need
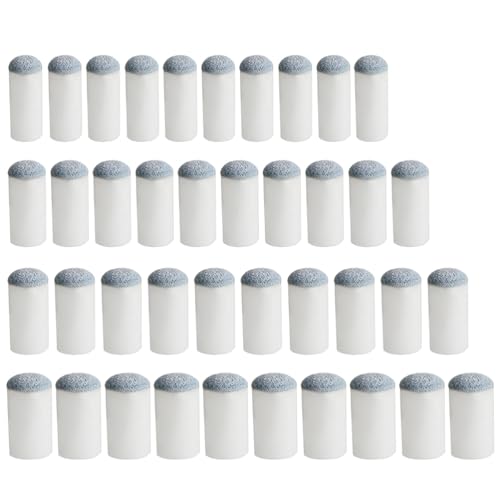
Everything here is inexpensive and widely available. You need: a sharp utility knife or razor blade, fine-grit sandpaper (400-600 grit for the ferrule, coarser for roughing the tip back), rubbing alcohol and a microfiber cloth, superglue gel specifically, not the runny liquid kind, a cue tip clamp or a few thick rubber bands, and a replacement tip. A basic kit like the Pimoys Pool Cue Tips Replacement Kit (20 sets, leather screw-on tips) gives you 20 tips across common sizes, which is enough to practice on a spare cue first if you’re nervous about getting it right on your main cue.
📊 Note: Measure your current ferrule diameter before ordering tips. Most cues run 12mm or 13mm, but going slightly larger and sanding the tip down to match is far easier than trying to stretch an undersized tip to fit.
Step-by-step: removing the old tip
Step-by-step: prepping the ferrule and the new tip
⚠️ Watch out: Don’t skip the alcohol wipe. Skipping it is the single most common reason a freshly glued tip pops off within the first few games, since sanding dust and skin oils on the ferrule surface prevent the glue from making full contact.
Step-by-step: gluing and clamping
Step-by-step: shaping the new tip
💡 Pro tip: Chalk the new tip generously before your first shots and take a few practice strokes with light contact before playing a real game. A brand-new tip needs a short break-in period before it grips as consistently as a tip that’s seen regular play.
How to tell it’s time for a re-tip
- ✓Sand the ferrule perfectly flat before gluing
- ✓Use superglue gel specifically, not runny liquid superglue
- ✓Clamp for a full hour minimum before shaping
- ✓Scuff the finished tip so it holds chalk properly
- ✕Pry the old tip off in one motion; you’ll gouge the ferrule
- ✕Skip the rubbing-alcohol wipe before gluing
- ✕Shape the tip before the glue has fully cured
- ✕Leave a glassy-smooth surface expecting chalk to hold anyway
When to take it to a pro instead
Re-tipping is a reasonable DIY job, but a few situations are worth handing to a cue repair shop instead. If the ferrule itself is cracked, separated from the shaft, or visibly damaged underneath the old tip, sanding and gluing a new tip on top won’t fix the underlying problem and may make it worse. Likewise, if you’re working with an expensive custom cue and you’ve never re-tipped anything before, practicing on a cheaper backup cue first is worth the extra time before you touch the one you actually care about.
DIY cost versus a pro shop
A pro shop typically charges $15 to $25 for a re-tip, sometimes more if they’re using a premium tip brand or the shop is in a market with fewer billiard supply options nearby. Doing it yourself costs a few dollars per tip if you buy a multi-pack, and once you’ve got the technique down, you’ll have spare tips on hand for the next time instead of scheduling another shop visit. The tradeoff is time and a small risk of a botched first attempt, which is exactly why practicing on a cheap backup cue first is worth doing before touching your main playing cue.
Common mistakes on a first attempt
The most common first-timer mistake is rushing the clamp time. Superglue gel feels solid to the touch within a few minutes, but a tip that hasn’t fully cured will shift or pop off under the impact of a hard break shot even if it looked fine sitting on the shelf. Give it the full hour, and if you’re not confident, let it sit overnight before shaping.
The second common mistake is over-sanding the ferrule and taking off more material than needed, which can leave an uneven surface that makes the new tip sit slightly crooked. Sand just enough to remove glue residue and create a flat, clean surface, checking frequently rather than sanding in one long pass. The third is shaping the tip too aggressively on the first pass; take the dome down gradually and check the profile against a coin or your old tip rather than guessing the curve in one attempt.
Breaking in the new tip
A freshly installed tip plays differently than a broken-in one for the first several sessions. The leather is stiffer and grips the cue ball slightly less predictably until it’s absorbed a bit of chalk and compressed slightly from normal contact. Don’t judge how the tip performs based on your first few shots; play a couple of practice sessions before deciding whether the shape and hardness suit your stroke. If it still feels too hard after a week of normal play, a light second scuffing pass usually resolves it.
How long does it take to re-tip a pool cue?
About 20 to 30 minutes of hands-on work: removing the old tip, prepping the ferrule, gluing, and shaping. Add at least an hour of clamped glue-curing time before you can play with it.
What glue should I use for a pool cue tip?
Superglue gel, not the thin liquid kind. Gel doesn’t run off the small ferrule surface and sets fast enough to hold the tip in position while you center it and clamp.
What size tip do I need?
Measure your ferrule diameter first; most cues run 12mm or 13mm. It’s easier to buy slightly oversized and sand the tip down to match than to stretch an undersized tip.
Can I re-tip a cue without a clamp?
Yes. A few thick rubber bands wrapped tightly around the tip and ferrule provide enough steady pressure to substitute for a dedicated cue tip clamp.
Dime or nickel radius, which should I pick?
Nickel radius (slightly rounder) is the safer default for most recreational players. Dime radius, flatter with more surface contact, tends to suit players using heavier side spin once they know their preference.
As an Amazon Associate, we earn from qualifying purchases through links on this page.