
How to Level a Shuffleboard Table Correctly


A shuffleboard table that plays inconsistently, pucks drifting, refusing to hang, sliding off the end, is almost always a leveling problem, not a wax problem. Here’s the cabinet-first process real installers use, including the climate adjusters most players never touch and the deliberate uphill bias that actually makes hangers possible.
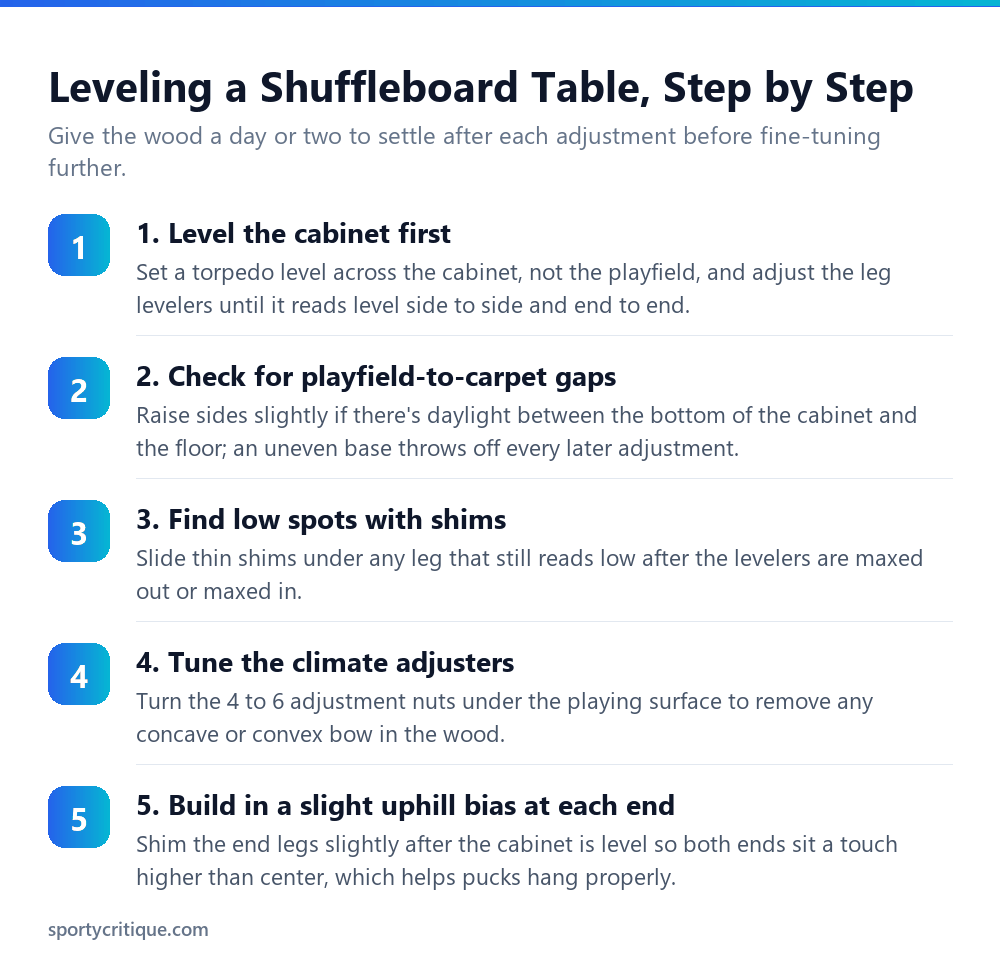
Level the cabinet first with a torpedo level across the legs, not the playing surface, then use the climate adjusters underneath the board, usually 4 to 6 of them, to remove any concave or convex bow in the wood itself. Once the cabinet reads level, shim the legs at each end very slightly so both ends sit a touch higher than the center; that small uphill bias is what lets a puck settle into a proper hanger instead of sliding straight off the end.
A shuffleboard table that plays inconsistently, pucks drifting to one side, sliding faster on one end than the other, refusing to hang properly near the scoring zone, is almost always a leveling problem rather than a wax problem. Most players reach for a different speed wax before they check whether the table itself is actually sitting level, and that’s backward. Wax adjusts speed on a table that’s already level; it can’t fix a table that’s physically tilted or bowed.
- →Level the cabinet with a torpedo level first, before touching the climate adjusters underneath the playing surface
- →Climate adjusters fix a concave or convex bow in the wood itself, a separate issue from the cabinet sitting unlevel
- →A slight, deliberate uphill bias at each end helps pucks hang properly near the scoring zone rather than sliding off
- →Give the wood 24 to 48 hours to settle after each round of adjustment before checking again
- →Recheck level every few months, especially after seasonal humidity swings, since wood tables move with the climate
Table of Contents
Cabinet first, playing surface second
The most common mistake is jumping straight to the climate adjusters underneath the playing surface without first confirming the cabinet itself is level. Those two adjustments solve different problems: the leg levelers control whether the whole table sits level relative to the floor, while the climate adjusters control the shape of the wood board itself, correcting for the natural cupping or bowing that solid wood develops as humidity changes. Adjusting the climate adjusters on a cabinet that isn’t level yet just layers one problem on top of another, and you’ll end up chasing symptoms instead of fixing the actual cause.
Setting the cabinet level
Place a Johnson Level & Tool Magnetic Aluminum Torpedo Level across the top rail of the cabinet, not on the playing surface itself, and check both the width and the length. Most cabinet shuffleboards use threaded leg levelers at each corner; work from the center legs outward, adjusting a small amount at a time rather than cranking one leg all the way before moving to the next. Small, alternating adjustments across all the legs get you to level faster and more accurately than fully adjusting one leg and moving on.
If a leg runs out of thread before the table reads level, that’s a sign the floor itself has a meaningful dip or slope under that corner. A thin shim under the base of that leg, rather than forcing the leveler past its safe range, is the more reliable fix at that point.
⚠️ Watch out: Never try to compensate for an unlevel cabinet by over-adjusting the climate adjusters instead. They’re built to correct a small bow in the wood, not to correct several degrees of cabinet tilt, and forcing them to do that job can warp the playing surface permanently.
Tuning the climate adjusters
Once the cabinet reads level, flip attention to the underside of the playing surface itself, where most shuffleboard tables have between four and six climate adjusters, threaded rods with nuts that pull or push against the wood to correct for a concave dip or a convex bulge across the playing surface. Run your torpedo level directly on the playing surface this time, checking across the width in several spots along the length. Tighten or loosen the adjuster nuts in small increments, then wait, wood doesn’t respond instantly, and recheck after a few hours rather than continuing to crank on a reading that hasn’t settled yet.
A slightly concave board, dipping in the middle, is the more common issue and the one climate adjusters are specifically designed to correct. A convex bulge is less common but the same adjusters work in the opposite direction to flatten it back out.
💡 Pro tip: Check level at a few different times of day if you can, especially during a change of seasons. Wood shuffleboard surfaces actually shift with humidity, and a board that reads perfectly level on a dry afternoon can read slightly different after a humid night.
The uphill-end trick most players skip
Once the table is fully level side to side and end to end, experienced installers intentionally introduce one more small adjustment: a slight shim under each end leg so the very ends of the board sit a touch higher than dead center. This isn’t a mistake or an imperfection, it’s deliberate. A puck sliding toward a slightly uphill end loses just enough speed at the right moment to settle into a hanger, sitting on the edge of the scoring zone rather than either falling short or sliding all the way through and off the table. A perfectly flat board from end to end actually makes hangers harder to achieve consistently, not easier.
This adjustment is subtle, we’re talking a very small rise, not a noticeable ramp, and it’s worth giving the board a day or two to settle into its final shape before judging whether you’ve overdone it. Rushing this step and shimming too aggressively is a common overcorrection that makes the far ends feel like a wall instead of a gentle upward taper.
Signs your table needs releveling
Pucks that consistently drift toward one side of the board regardless of how straight you throw are the clearest sign of a side-to-side level problem. Pucks that reliably fall short on one end but slide through on the other suggest an end-to-end issue, or that the deliberate uphill bias has worn uneven over time as the cabinet has settled or the floor underneath has shifted slightly. If you’ve recently moved the table, even a few feet, relevel it before assuming anything else changed; floors are rarely as uniformly flat as they look.
When to relevel versus when to just rewax
- ✓Pucks are drifting toward one consistent side regardless of throw angle: check level first
- ✓It’s been several months since the last check, especially across a season change: check level
- ✓You’ve recently moved or reinstalled the table: relevel before anything else
- ✓Speed feels uniformly off across the whole board but direction seems fine: try wax first
- ✕Don’t assume a new wax application will fix a directional drift problem; it usually won’t
- ✕Don’t adjust climate adjusters before confirming the cabinet itself is level
- ✕Don’t force a leg leveler past its safe thread range; shim instead
- ✕Don’t judge a fresh leveling adjustment immediately; give the wood time to settle first
Floor and placement matter more than people expect
Where you position a shuffleboard table in the room affects how often it needs releveling just as much as the table itself does. A table placed near an exterior door, a window that gets direct sun for part of the day, or a basement with noticeable humidity swings between seasons will drift out of level more often than one placed in a stable interior room. If you have a choice of location, an interior wall away from direct sunlight and temperature swings keeps the wood more stable and cuts down on how often you’ll need to touch the adjusters at all.
Carpet versus hard flooring under the legs also changes the leveling process slightly. Carpet compresses unevenly under weight over time, which can throw off a level reading taken right after setup as the carpet settles over the following weeks. If you’ve set up on carpet, plan on a follow-up check about a month in rather than assuming the initial leveling job will hold indefinitely.
What a professional installer actually checks that owners often skip
Beyond the basic level reading, installers typically also check that the cabinet itself isn’t racked, twisted slightly so that diagonal corners don’t sit in the same plane even though each individual leg reads level. A racked cabinet can pass a simple two-point level check while still playing inconsistently, because the twist introduces a subtle diagonal tilt a basic front-to-back, side-to-side check won’t catch. Checking level at all four corners independently, not just at the center of each side, catches this before it becomes a confusing problem to diagnose later.
Installers also tend to recheck level a final time after fully assembling any playfield accessories, scoring units, gutter guards, or ball returns bolted to the cabinet, since the added weight and hardware can shift a reading that looked perfect on the bare cabinet. It’s a small extra step that owners doing their own setup commonly skip, then wonder why the table plays slightly differently than it did during the initial test.
Tools worth keeping on hand
A reliable torpedo level is the one tool this whole process actually depends on; a warped or inaccurate level will have you chasing a level reading that was wrong from the start. Beyond that, a small set of thin wood shims, a socket or wrench sized to your table’s adjuster nuts, and a notepad to track which legs you’ve adjusted and by how much are enough to handle the entire process without needing to call in a professional installer for routine maintenance.
Bottom line
Level the cabinet before touching anything underneath the playing surface, use the climate adjusters to correct the wood’s own shape rather than to compensate for an unlevel base, and finish with a small, deliberate uphill bias at each end once everything else reads flat. Recheck every few months, since wood shuffleboard tables genuinely shift with the seasons, and a table that played perfectly in spring can need a small tune-up by fall.
See also: Best Shuffleboard Wax and Powder once your table is properly level and you’re ready to dial in playing speed.
Should I level the cabinet or the playing surface first?
The cabinet, always. Set a torpedo level across the top rail and adjust the leg levelers until the whole cabinet is level, then move on to the climate adjusters underneath the playing surface. Adjusting the climate adjusters first just compounds an unlevel base.
What are climate adjusters and how many does a shuffleboard table have?
Threaded rods underneath the playing surface, usually four to six per table, that correct for a concave or convex bow in the wood caused by humidity and temperature changes. They’re separate from the leg levelers, which control the cabinet’s level relative to the floor.
Why would I want the ends of the table slightly uphill instead of perfectly flat?
A very slight uphill bias at each end helps a puck lose just enough speed to settle into a hanger near the scoring zone, rather than sliding all the way off the end. A perfectly flat board end to end actually makes consistent hangers harder to achieve.
How often should I relevel a shuffleboard table?
Check every few months, and always after a significant humidity or temperature swing, moving the table, or noticing pucks drifting consistently to one side. Wood surfaces shift with the seasons even on a table that was perfectly leveled at setup.
As an Amazon Associate, we earn from qualifying purchases through links on this page.