How to String a Traditional Leather Lacrosse Pocket

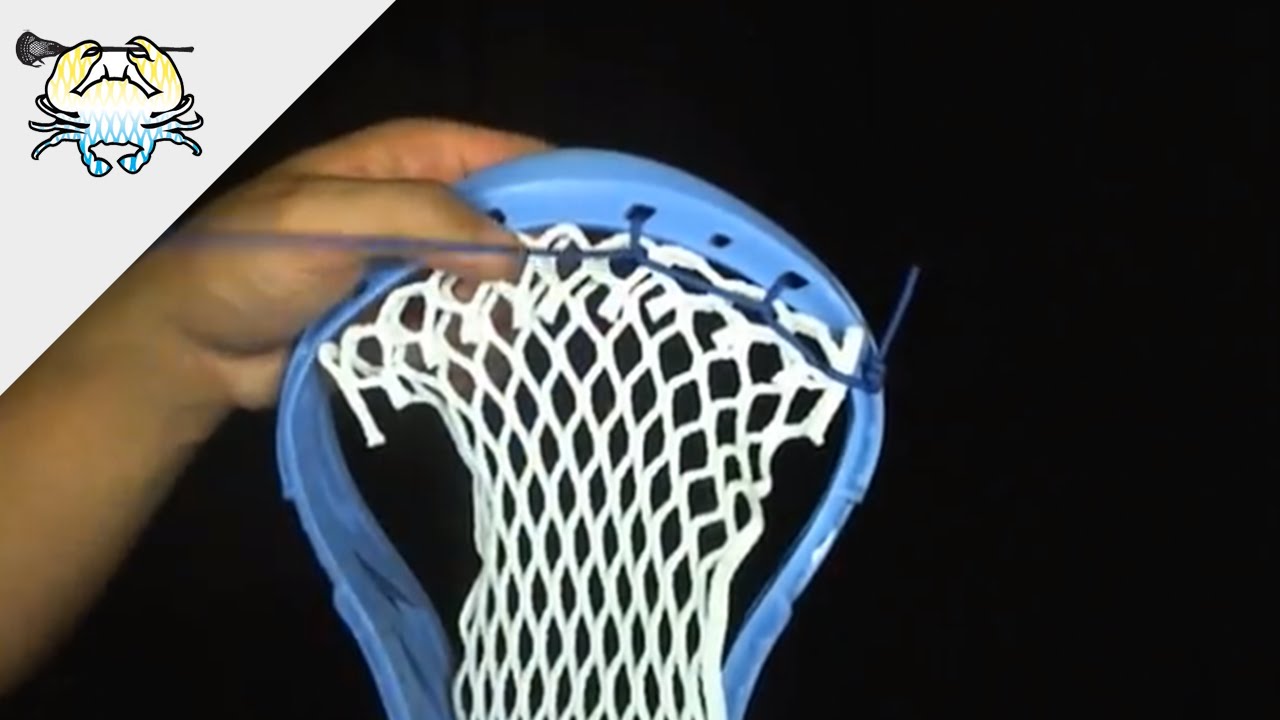
A traditional lacrosse pocket replaces mesh with four leather runners laced together with nylon cross-strings, usually in a six-diamond pattern. It gives more control over ball feel and lets you customize the pocket in ways mesh cannot match, but it takes two to three hours for a first attempt, needs more knots than a mesh pocket, and requires ongoing care to stop the leather from bagging out in wet weather. This guide is specifically about traditional stringing. If you want a mesh pocket instead, see stringing a brand-new lacrosse head from scratch or stringing a mesh pocket, hard mesh versus soft mesh.
Before mesh became the standard, every lacrosse pocket was strung this way: leather runners laced with nylon cord, tied diamond by diamond by hand. Mesh eventually took over the sport because it strings faster and holds up better in the rain, but traditional stringing never disappeared. A meaningful number of players, especially defenders and older-school attackmen who grew up on it, still choose leather and nylon deliberately for the feel it gives a cradling and passing style that mesh cannot fully replicate.
This is not a faster or easier alternative to mesh. It is a different pattern with its own materials, its own knots, and its own maintenance routine, and it deserves to be treated as its own topic rather than a footnote on a mesh-stringing guide.
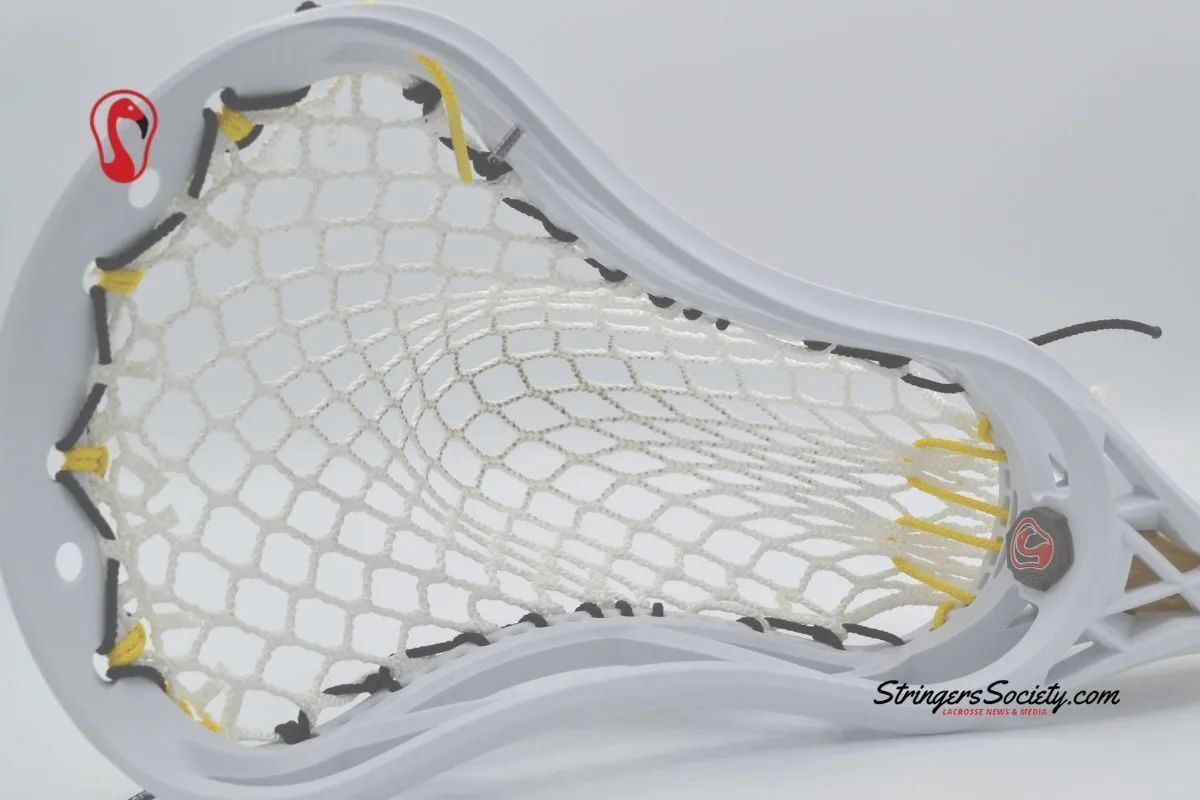
Credit: stringerssociety.com
Table of Contents
Why Choose Traditional Over Mesh
A traditional pocket gives a softer resting place for the ball, since leather flexes and gives in a way that even soft mesh does not fully match, which is why many players who cradle heavily describe traditional stringing as having more feel and more control over exactly where the ball sits. It is also far more customizable. Because every cross-lace is tied individually rather than following a fixed diamond weave, you can shape the pocket in ways a mesh piece simply cannot flex into.
The tradeoffs are real, though. Traditional pockets take much longer to string, need far more maintenance, and behave inconsistently in the rain, since wet leather stretches and the pocket can throw differently from one possession to the next until it dries out again. Mesh solved exactly that consistency problem, which is the biggest reason it became the standard on the men’s side and was eventually legalized for women’s lacrosse in 2018 as well.
Materials for a Traditional Pocket
Choosing Your Leather
Leather runners come in a few finishes, and the choice affects both how the pocket breaks in and how it holds up over time. Threaded leather has a factory-applied lacing pattern already run through it and tends to be more consistent for a first attempt. Oil-treated leather comes pre-conditioned and slightly softer out of the package. Alum-tanned, or raw, leather is the stiffest option and needs the most oiling and stretching by hand before it breaks in, but many experienced stringers consider a well broken-in raw leather pocket the best-feeling setup available, worth the extra work up front.
💡 Pro tip: If this is your first traditional pocket, start with threaded or oil-treated leather. Raw alum-tanned leather rewards experience but punishes a first attempt with a much longer break-in and more chances to over-stretch a runner unevenly.
Step 1: Set Up the Four Runners
Attach the four leather runners to the head first, evenly spaced and secured at the top near the scoop. These runners are the traditional pocket’s equivalent of the mesh sheet, they are what the cross-lace will eventually connect into diamonds. Keep even spacing between all four before moving on, since correcting spacing after cross-lacing is underway is far more difficult than getting it right at the start.
Step 2: Weave the Nylon Cross-Lace
Starting at the first sidewall hole, pull your longest piece of nylon cross-lace through and weave it between the outside and middle runners in the same repeating over-under pattern used in a standard six-diamond layout. String this first cross-lace loosely rather than tight, since it sets the outer shape the rest of the diamonds will follow.
Keep the cross-lace from twisting as you pull it through each pass. If it kinks, run your hand down the length of it to work the twist out before continuing, a twisted cross-lace creates uneven diamonds that are hard to spot until the whole row is finished. Work your way down the runners, adding cross-lace rows and tying each one off individually. This is the step that makes traditional stringing slower than mesh, since every diamond is a separate hand-tied connection rather than a single string threaded through a pre-woven sheet.
⚠️ Watch out: Traditional stringing involves noticeably more individual knots than a mesh pocket, which is also more surface area for something to work loose over a season. Plan on checking and retying knots more often than you would on mesh.
Step 3: Shape the Pocket With the Runners
Because each runner and cross-lace connection is tied by hand, you have direct control over the pocket’s shape in a way mesh does not allow. Pulling the middle runners slightly lower than the outer two creates the classic deep, controlling pocket associated with traditional stringing. Keeping all four runners closer to even creates a shallower pocket with a quicker release, closer to what a mesh pocket produces by default.
Step 4: Add Shooting Strings
Shooting strings work the same way on a traditional pocket as they do on mesh, they cross the face of the pocket within the top four inches of the head under NCAA and NFHS rules, and control the ball’s release the same way. The main difference is that with leather’s softer feel underneath, many traditional stringers use fewer or looser shooting strings than they would on mesh, since the leather itself already provides more hold than mesh does before shooting strings are even added.
Breaking In and Maintaining Leather
A new traditional pocket needs oiling before its first real use. Apply a light leather conditioner or neatsfoot oil to each runner, working it in by hand, then let it sit before playing. This keeps the leather supple and slows the drying and cracking that eventually shortens a traditional pocket’s life.
Ongoing maintenance matters more here than with mesh. Check the pocket before every session for stretched runners or loosened cross-lace knots, since traditional pockets shift more with wear and moisture than mesh does. If you play in a consistently wet climate, be prepared to re-tension or partially re-string more often, since wet leather stretches and dries unevenly, which is the main durability tradeoff you are accepting for the feel and customization traditional stringing offers.
📊 Note: Traditional stringing is rare enough today that not every team shop or stringing service still offers it as a paid option. If you cannot find someone locally who strings leather and nylon regularly, learning to do it yourself may be the more reliable path.
Common Traditional-Specific Pocket Shapes
Beyond the standard even six-diamond layout, traditional stringers commonly build a few named pocket shapes by varying how the runners and cross-lace are tensioned relative to each other. A deep U-shaped pocket pulls the middle runners noticeably lower than the outer two, favored by possession-focused defenders and long-stick middies who prioritize holding onto the ball under pressure over a fast release. A shallower, flatter pocket keeps all four runners closer to even, giving up some of that hold in exchange for a quicker, more mesh-like release, closer to what an attackman coming off traditional stringing might prefer if they still want the leather feel without giving up too much speed on their shot.
None of these shapes require different materials, only different tensioning choices while you are cross-lacing. It is worth stringing a first pocket close to even, testing it, and adjusting the runner tension in a second pass once you know how the stick actually feels in your hands, rather than committing to an aggressive shape on the first attempt.
Common Mistakes Specific to Traditional Stringing
Uneven runner spacing at the start is the mistake that causes the most downstream problems, since every cross-lace row that follows inherits whatever spacing error was built into the first step. Take the extra few minutes to measure and confirm even spacing between all four runners before the first piece of cross-lace goes on.
Skipping the oil-and-condition step on new leather is another common shortcut that costs more time later. Dry leather cracks and loses its shape far faster than conditioned leather, and a cracked runner usually means restringing that section rather than a quick fix. Finally, under-tightening cross-lace knots to save time is a false economy, since a traditional pocket already has more knots than a mesh pocket and every loose one is a point where the whole structure can start to shift during play.
Related Guides
Frequently Asked Questions
Is traditional stringing legal in NCAA and NFHS lacrosse?
Yes. Traditional pockets have to meet the same pocket-depth and shooting-string placement rules as mesh pockets, but the leather-and-nylon construction itself is fully legal.
How long does a traditional pocket take to string?
Expect two to three hours for a first attempt, considerably longer than the 45 to 90 minutes a first mesh pocket typically takes, since every cross-lace diamond is tied individually by hand.
Why does my traditional pocket feel different after it rains?
Leather absorbs moisture and stretches when wet, which changes the pocket’s depth and feel until it fully dries. This inconsistency is the main reason mesh became the standard.
Can I mix leather runners with a mesh-style shooting string setup?
Yes, shooting strings work the same regardless of what the runners underneath are made from. Many traditional stringers do use fewer shooting strings than a typical mesh setup, since the leather already holds the ball more on its own.
How often should I oil the leather runners?
Most stringers oil a new pocket before its first use, then check every few weeks during the season and re-oil if the leather starts to feel dry or stiff.
- →Traditional stringing uses four leather runners and nylon cross-lace instead of a mesh sheet.
- →It takes two to three hours for a first attempt, roughly double a first mesh pocket.
- →Threaded or oil-treated leather is easier for beginners; raw alum-tanned leather rewards experience.
- →Leather needs conditioning before use and more frequent knot checks than mesh over a season.
- →The tradeoff is more control and feel against more maintenance and less consistency in rain.
- →Full mesh-stringing walkthrough from a bare head: stringing a brand-new lacrosse head from scratch
- →Comparing hard mesh against soft mesh: stringing a mesh pocket, hard mesh versus soft mesh
- →Adjusting pocket depth and shooting strings after stringing: adjusting pocket depth and shooting strings
- →Fixing a release or depth problem: troubleshooting a lacrosse pocket that will not release or fails the legal check