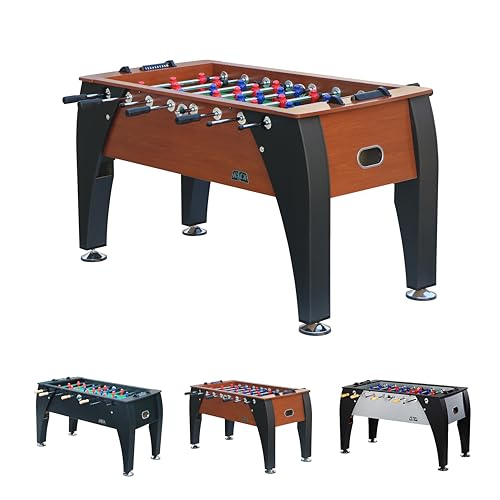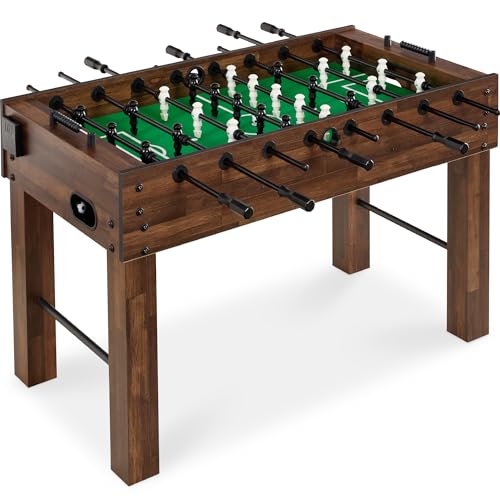
How to Assemble a Foosball Table Without Regretting It


Assemble the table in the room it’s going to stay in — a built cabinet won’t fit through a standard doorway. Keep every bolt finger-tight until the cabinet is square, then tighten progressively in a cross pattern. Fit the rods in order (goalie, defence, midfield, attack — they carry different numbers of men and aren’t interchangeable), use a hand screwdriver on anything threading into plastic, and level it last with a spirit level. Budget two to three hours and a second person.
⚽ Foosball Hub: Explore all 20 table reviews, rules breakdowns, and rod maintenance guides in our Complete Foosball Resource Hub.
Foosball table assembly isn’t difficult, but it punishes two specific mistakes badly, and both are easy to make if you build it the way you’d build flat-pack furniture.
The first is building it somewhere other than its final home. The second is tightening bolts as you go. Neither is obvious from the instructions, and both are much easier to avoid than to undo.
- →Build it in its final room — assembled tables don’t fit through doorways.
- →Every bolt stays loose until the whole cabinet is square, then tighten in a cross pattern.
- →Never use a power driver on screws threading into plastic.
- →Rods are not interchangeable — lay them out in order as you unpack.
- →Check for shipping damage before you build; a built table is effectively non-returnable.
- →Level it as the last step, in position, with a spirit level.
Table of Contents
Before you open the box
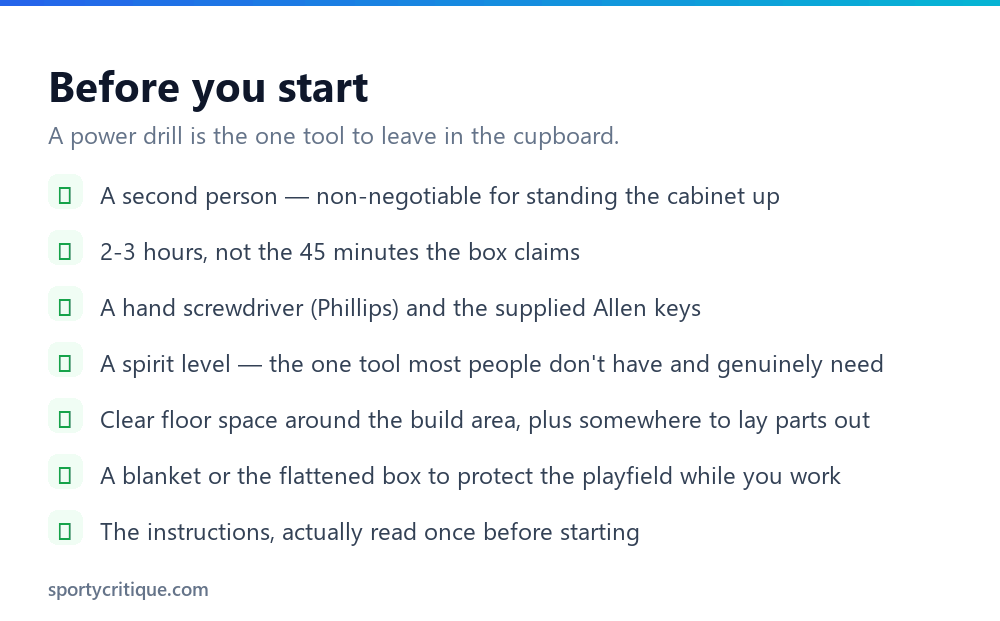
Decide where it lives, and build it there. This is the mistake that generates the most regret. A full-size foosball table cabinet, once bolted together, is around five feet long and two and a half wide with legs attached — comfortably wider than a standard interior doorway, and impossible to angle through a stairwell turn. People build in the garage because there’s space, then discover the table can’t reach the games room without being taken apart again.
Remember too that the room needs more than the table’s footprint. You want roughly three feet of clearance at each end for players, plus room at the sides if it has through-rods. Our buying guide covers the full space requirement, and it’s worth confirming before you commit to a spot.
Check everything against the parts list first. Lay it all out on the floor. Look for dents in the playfield, bends in the rods, cracked panel corners, and count the small parts. Once the table is assembled, retailers reasonably treat it as used, and a warped playfield found four hours in becomes an argument you’ll probably lose.
⚠️ Watch out: The one tool to leave in the cupboard is a power drill. Many of the small screws — particularly the ones holding the men on — thread directly into plastic, and a driver strips them instantly. Hand tools throughout, and stop the moment a screw feels snug.
The assembly order
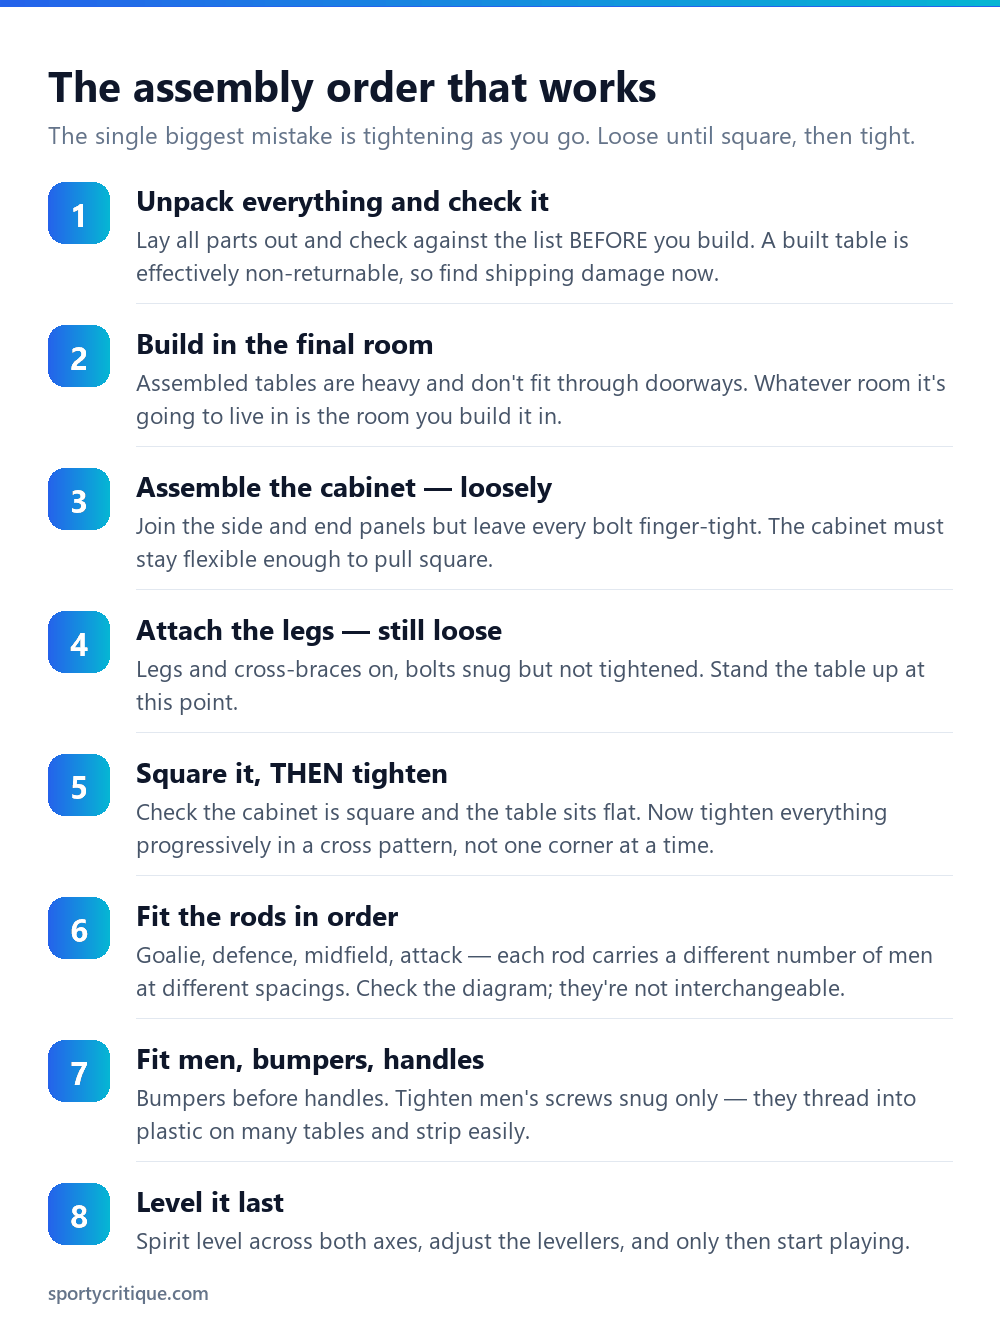
The principle running through this is loose until square, then tight, and it’s worth understanding why rather than just following it.
A foosball cabinet is four panels bolted into a rectangle. If you fully tighten the first corner, that corner is now fixed at whatever angle it happened to be sitting at — and every subsequent panel has to conform to it. Small errors accumulate, and you end up with a cabinet that’s fractionally out of square. That matters more here than in ordinary furniture because the rods pass through bearings on opposite walls: if the walls aren’t parallel, every rod binds slightly for the life of the table.
Keeping everything finger-tight lets the cabinet flex while you assemble it. Once all four panels and the legs are on, you stand the table up, let it settle, check it’s square and sitting flat, and only then tighten — working progressively around the table in a cross pattern so no single corner pulls the structure out of true.
If the cabinet walls aren’t parallel, every rod binds slightly forever. That’s why ‘loose until square’ matters more on a foosball table than on a bookshelf.
Rods go in in order. The goalie, 2-bar defence, 5-bar midfield, and 3-bar attack rods carry different numbers of figures at different spacings, and they interleave with your opponent’s rods in a specific sequence. Lay them out in order as you unpack and check against the diagram. Getting this wrong isn’t fatal — you just take them out again — but it’s a frustrating twenty minutes at the end of a long job.
When sliding a rod through its bearing, turn it so the men’s retaining screws clear the bearing collar. If it catches, back off and rotate rather than pushing harder; forcing it scores the inside of the bearing, and a scored bearing never runs smoothly again.
Finishing properly
Three final steps separate a table that plays well from one that’s merely built.
Bumpers before handles. The small rubber or foam rings that cushion the rod at the end of its travel go on before the handle does — fitting the handle first means taking it off again. They matter more than they look: without them, metal hits plastic on every full stroke, which is both loud and hard on the bearings.
Men’s screws snug, not tight. Each figure is held by a screw through the rod, threading into plastic on most tables. Tighten until the man doesn’t rotate and stop there. Overtightening strips the thread, and a stripped thread means a figure that spins on impact and sends shots off-line unpredictably — a fault covered in our repair guide.
Level it in position. Put a spirit level across the playfield lengthwise and widthwise, and wind the levellers until both read true. Do this after the table is in its final spot, because moving it afterwards undoes the work. An unlevel table sends every loose ball drifting to one side, and players will spend months blaming their own touch rather than suspecting the floor.
💡 Pro tip: Once it’s built and levelled, give the playfield a wipe and the rods a light coat of silicone before the first game. New tables often arrive with manufacturing residue on the surface and dry bearings — ten minutes with our cleaning routine makes a brand-new table feel noticeably better.
Understanding what you’re building
A quick orientation helps, because foosball instructions are famously terse and often translated. Every table is the same handful of components regardless of brand:
The number sequence per side — 1, 2, 5, 3 from your own goal outward — is worth memorising, because it’s consistent across virtually every table and it’s the fastest way to work out which rod goes where when the diagram is unclear. Goalie nearest your goal, then the two-man defence, then the five-man midfield, then the three-man attack closest to your opponent’s goal.
If something doesn’t fit
A few problems come up often enough to be worth naming.
Bolt holes don’t line up. Almost always because something is already too tight, forcing the cabinet out of square. Back everything off, reseat the panels, and try again with all bolts loose. It’s rarely a manufacturing fault, though pre-drilled holes on budget tables are sometimes genuinely misplaced — if backing off doesn’t help, contact the retailer rather than forcing or redrilling.
A rod won’t slide through. Check the bearing is seated square and flush; a bearing pressed in at an angle narrows the opening. Also check you haven’t got a rod in the wrong position — the men’s spacing differs by rod, and a 5-bar in a 3-bar slot will foul.
The table rocks after levelling. If all four levellers are wound down and it still rocks, the floor is uneven beyond the levellers’ range. A rigid shim — plastic or hardwood, never folded card — under one foot is a legitimate fix.
Missing parts. Don’t improvise with hardware-store substitutes on the structural bolts; sizes and thread pitches vary and a wrong bolt can damage the panel. Most manufacturers send small parts free. For men’s screws and bumpers, generic replacements are usually fine.
Moving it later
Worth planning for at the point of assembly, because the answer affects how you build it.
A fully assembled foosball table cannot be carried through a normal house without dismantling. If you expect to move within a year or two, keep the packaging — it makes the eventual move dramatically easier — and consider keeping the original instructions with it, taped inside the cabinet, since reassembly is far quicker with the rod diagram to hand.
For short moves within a room or across a flat floor, two people can usually shuffle a table without taking it apart, though you should lift rather than drag: dragging puts lateral force through the leg brackets, which is exactly how they deform. Our disassembly guide covers the full breakdown for a proper move.
Frequently asked questions
How long does it take to assemble a foosball table?
Two to three hours with two people for a full-size table, regardless of what the box claims. Budget longer if it’s your first one. The cabinet and legs go quickly; fitting rods, men, bumpers, and handles is where the time actually goes, since there are a lot of small screws.
Can one person assemble a foosball table?
Most of it, but not comfortably. Standing the cabinet upright and attaching legs genuinely needs a second pair of hands — the cabinet is heavy and awkward rather than just heavy, and trying it alone risks both the table and your back. Get someone for that stage even if you do the rest yourself.
Why won’t my foosball rods slide in?
Usually a bearing seated at an angle, which narrows the opening — press it in flush and try again. Otherwise check you have the right rod for the position, since men’s spacing differs between the goalie, defence, midfield and attack rods. Never force a rod; it scores the bearing permanently.
Do I need to level a foosball table?
Yes, and it’s the step people skip. Almost no floor is truly level, and even a slight tilt sends every loose ball drifting to one side, which quietly distorts every game you play. Use a spirit level across both axes after the table is in its final position.
Should I build it in the garage and move it in?
No — this is the most common assembly regret. An assembled table is wider than a standard doorway and can’t be angled through a stairwell turn. Build it in the room where it’s staying, even if that room is a tighter working space.
What if I’ve lost the instructions?
Most manufacturers publish assembly PDFs on their websites, and the general order is consistent across brands: cabinet loose, legs on, square it, tighten, then rods from goalie to attack. The one thing genuinely worth having is the rod diagram showing which rod goes where — count the men on each rod and match them to the standard 1-2-5-3 arrangement per side.
- →Cleaning and maintenance — start with a wipe-down and lubrication
- →Fixing a foosball table — wobbles, bearings, and loose men
- →Disassembling a foosball table — for moving house
- →Choosing a foosball table — before you buy the next one
- →How to play foosball — now go use it