How to Disassemble a Foosball Table for Moving


Work in reverse assembly order: photograph everything first, remove the handles and rods, label each rod with masking tape (they’re not interchangeable), bag and label the fasteners by stage, then lay the table on its side on a blanket and remove the legs. Most moves need nothing more than the legs off — splitting the cabinet is a big jump in effort and only worth it for tight stairwells. Protect the rods and keep the playfield flat and dry.
Foosball tables are one of those objects that seem fine until you try to move them through a door. The cabinet is wider than a standard doorway with the legs on, it weighs somewhere between 100 and 200 pounds, and it doesn’t fold.
The good news is that taking one apart is straightforward — it’s the assembly process backwards. The part people get wrong isn’t the dismantling; it’s failing to record what they dismantled, and then spending an evening at the other end working out which rod goes where.
- →Photograph the rod layout and brackets before touching anything.
- →Label every rod with masking tape — they look alike and aren’t interchangeable.
- →Bag fasteners by stage and tape the bags inside the cabinet so they travel with it.
- →Legs off is usually enough. Only split the cabinet if the route demands it.
- →Bundle the rods — a bent rod can’t be reliably straightened.
- →Keep the playfield flat and dry. Moisture damage is the one thing you can’t undo.
Table of Contents
Decide how far to go
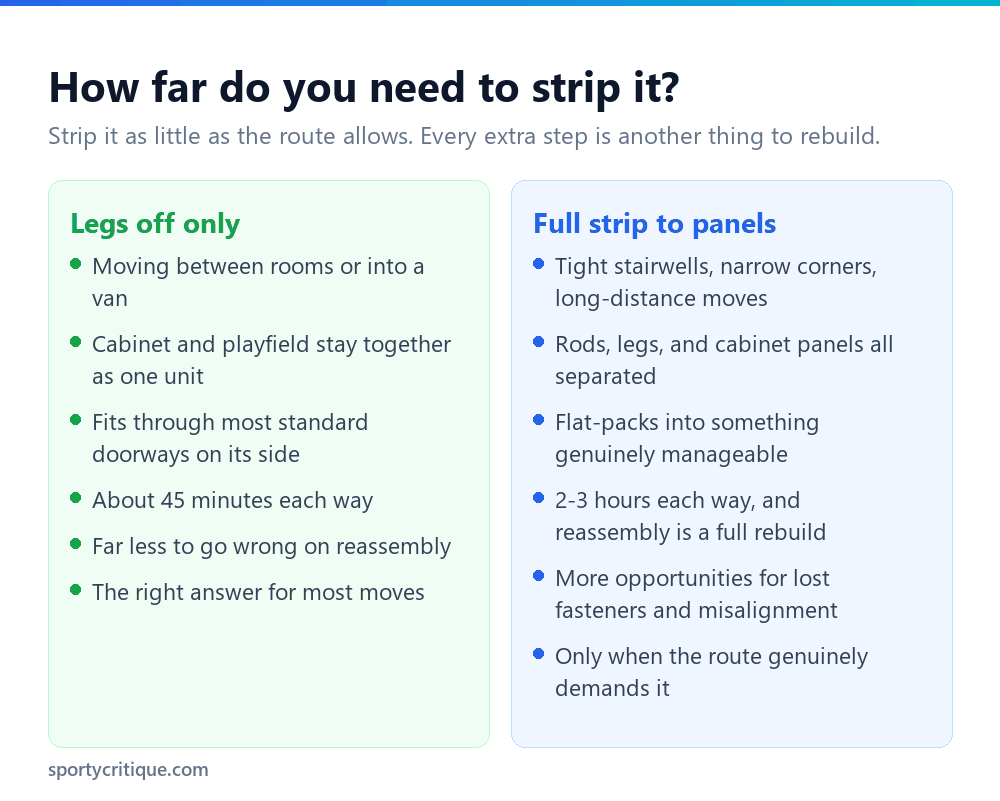
Before you start, work out the minimum you can get away with, because every additional stage of disassembly is another stage of reassembly at the other end.
For most moves, removing the rods and legs is enough. With the legs off, the cabinet-and-playfield unit is about five feet by two and a half and only a few inches thick — it goes through standard doorways on its side without difficulty, and two people can carry it. That’s roughly forty-five minutes of work each way.
Splitting the cabinet into panels is a different proposition. It’s necessary for genuinely tight routes — narrow Victorian stairwells, sharp half-landings, spiral staircases — and for long-distance moves where flat-packing saves real space. But it turns a ninety-minute job into a five-hour one across both ends, and reassembly is a complete rebuild including re-squaring the cabinet.
Measure the route before deciding. The usual failure point isn’t the doorway itself but the turn at the top or bottom of stairs, where you need diagonal clearance rather than just width.
Strip it as little as the route allows. Every step you skip is a step you don’t have to get right at the other end.
Photograph and label
This is the advice that separates an easy rebuild from a frustrating one, and it costs five minutes.
Take photographs before you start: the table from above showing the rod order, close-ups of the leg brackets and any cross-bracing, and the underside if there’s anything non-obvious there. Foosball instructions are often lost by the time a table gets moved, and manufacturers’ PDFs aren’t always available for older or unbranded models. Your own photos are more reliable than anything you’ll find online.
Label the rods as you remove them. A strip of masking tape and a marker is enough. The eight rods carry different numbers of figures at different spacings — goalie, two-man defence, five-man midfield, three-man attack for each side — and while you can work it out from the men count, doing so while surrounded by boxes at 9pm is not how anyone wants to spend a moving day.
Bag fasteners by stage, not all together. Handle screws in one bag, men’s screws in another if you remove them, leg bolts in a third, cabinet bolts in a fourth. Label each bag. Foosball tables use several similar-looking but differently-sized bolts, and sorting a single pile of mixed hardware is genuinely tedious.
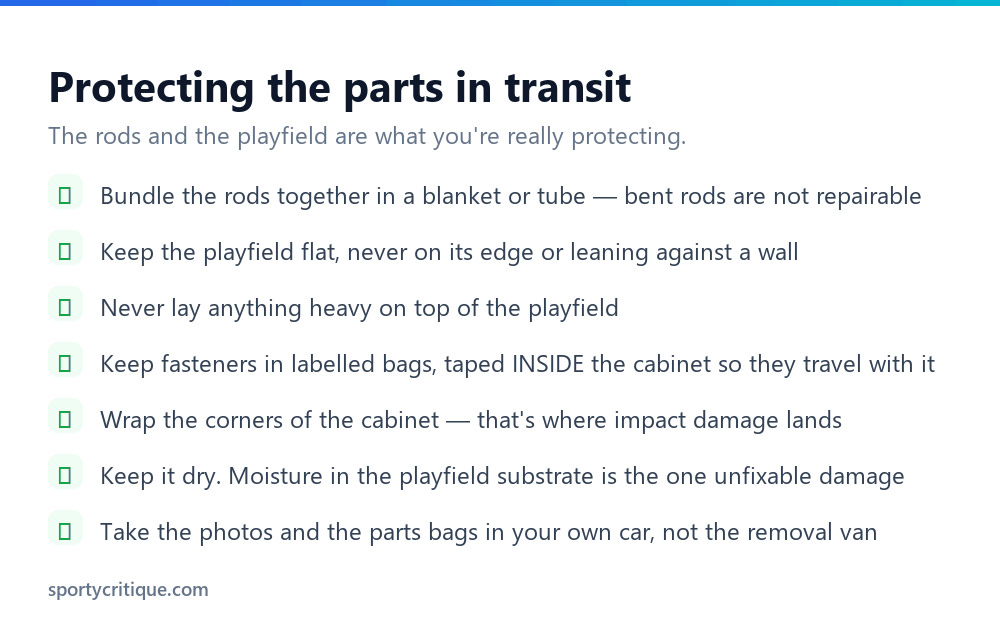
💡 Pro tip: Tape the fastener bags to the inside of the cabinet with the photos printed or saved somewhere you’ll find them. Parts that travel separately from the table are parts that get lost — and a missing bag of cabinet bolts stops a rebuild dead.
Taking it apart
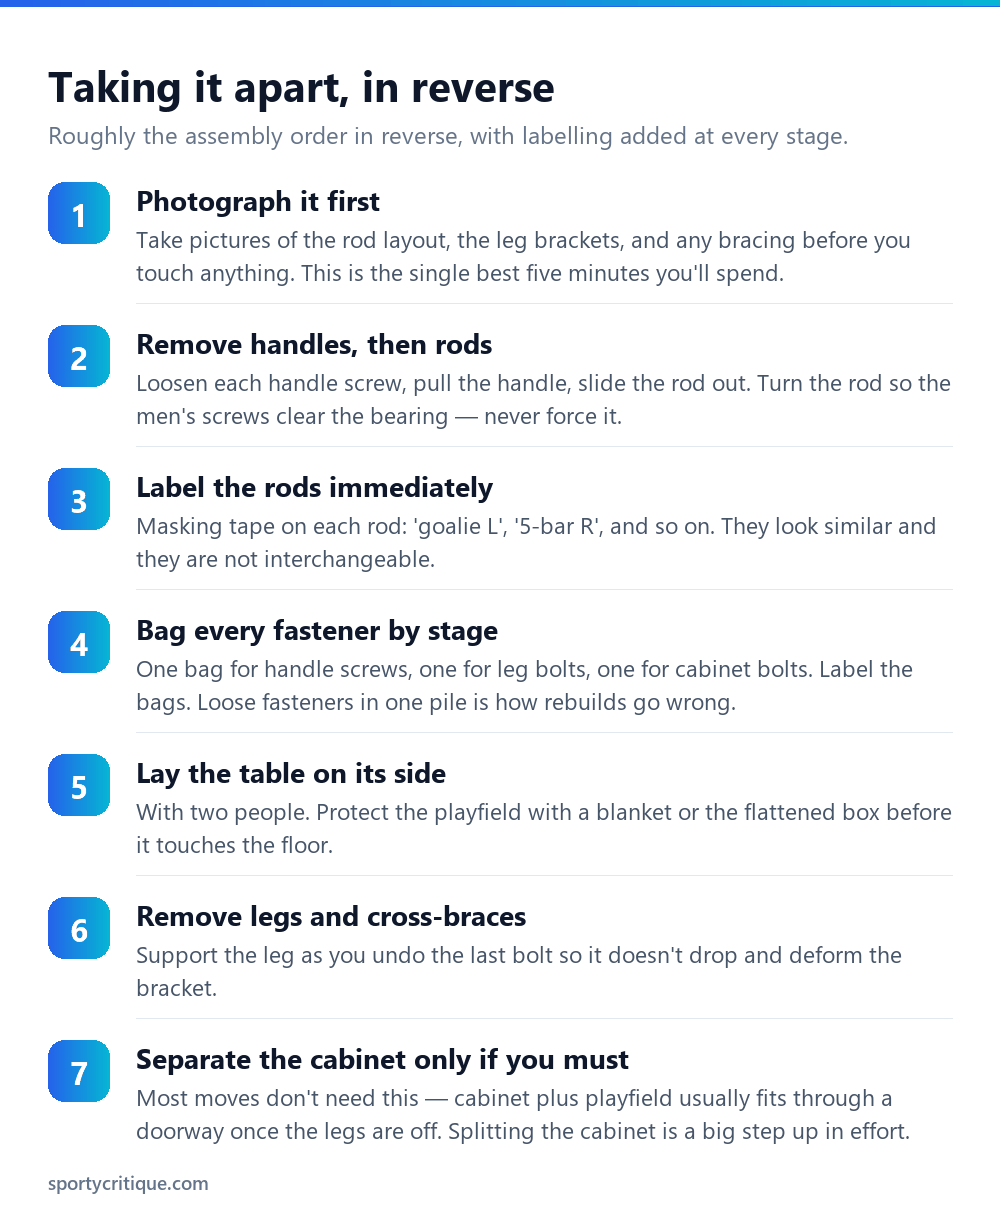
Rods first, always. Loosen the screw on each handle, pull the handle off, then slide the rod out through the bearing. If a rod catches, rotate it so the men’s retaining screws clear the bearing collar rather than pushing harder — forcing it scores the inside of the bearing, and a scored bearing never runs smoothly again. This is the same care described in our rod maintenance guide.
There’s no need to remove the men from the rods for a move. Leaving them on saves a lot of small screws and avoids the risk of stripping the plastic threads on reassembly.
Then the legs. Lay the table on its side first, with two people, onto a blanket or the flattened original box — never directly onto a hard floor. Support each leg as you undo its final bolt; letting a leg drop under its own weight is how brackets get bent, and a deformed bracket means a table that never sits square again.
Cabinet last, and only if required. If you do split it, keep the panels together and mark which edge mates with which. Cabinet panels often look symmetrical and aren’t — pre-drilled holes only line up one way round.
⚠️ Watch out: Don’t drag a partially dismantled table. With legs removed the cabinet is fine to slide on a blanket, but a table still on its legs should always be lifted rather than pushed — lateral force through the leg brackets is exactly what deforms them, and it’s a common cause of the permanent wobble covered in our repair guide.
Protecting it in transit
Two components are genuinely vulnerable and everything else is robust.
The rods. A bent foosball rod cannot be reliably straightened — even a slight bend causes it to bind in the bearing permanently, and getting it truly straight at home is essentially impossible. Bundle them together in a blanket, a length of pipe, or the original packaging, and don’t let anything heavy rest across them. Loose rods rolling around a van floor with furniture on top is how they get damaged.
The playfield. Keep it flat and keep it dry. Storing the cabinet on its edge for a long period, or leaning it against a wall under its own weight, can encourage warping in the substrate. And moisture is the one thing that destroys a playfield outright — a damp garage over winter or a leaky van in the rain will swell the particleboard irreversibly. If the table is going into storage, a dry indoor space matters far more than a heated one.
The cabinet panels themselves are tough, but the corners are where impact damage lands. A few minutes wrapping them in blankets or bubble wrap prevents the chipped corners that make an otherwise sound table look shabby.
Measuring the route before you start
The decision about how far to strip the table should come from the route, not from guesswork, and it takes ten minutes to check properly.
The practical test is to cut a piece of cardboard to the cabinet’s footprint and carry it along the route. It sounds fussy and it takes five minutes, and it will tell you definitively whether you’re removing legs only or splitting the cabinet — before you’re halfway up a staircase with two people holding a hundred and fifty pounds of chipboard.
Putting it back together
Reassembly follows our assembly guide, with the same critical rule: keep everything loose until the cabinet is square, then tighten progressively in a cross pattern. If you’ve split the cabinet, this matters even more than on a new build, because you’re re-mating panels whose bolt holes have already been through one tightening cycle.
Two things worth doing during the rebuild, since the table is already apart. First, clean everything — you’ll never have easier access to the rods, bearings, and cabinet interior than right now, and a move is the natural moment for it. Second, inspect the bearings while the rods are out and replace any with visible play. They’re cheap, and doing it now saves dismantling the table again in six months.
Finally, re-level the table in its new position. Floors differ between houses more than people expect, and a table that sat perfectly level in the old place will almost certainly need adjusting in the new one.
📊 Note: If the table is being moved because you’re selling it, reassemble it at the buyer’s end if you can, or at minimum hand over the labelled parts bags and your photographs. A dismantled table with unlabelled hardware is worth noticeably less than the same table built — and see our buying guide for why used tables are such good value in the first place.
Frequently asked questions
Do I have to take a foosball table apart to move it?
To move it between rooms in the same house, often not — two people can carry a table on its legs across a flat floor, lifting rather than dragging. To get it through a doorway or down stairs, yes: the legs at minimum have to come off, since an assembled table is wider than a standard door frame.
How long does it take to disassemble a foosball table?
About 45 minutes to remove rods and legs, which is enough for most moves. A full strip down to cabinet panels takes two to three hours, and the same again to rebuild. Budget for the labelling time — it feels like a delay and it saves far more at the other end.
Do I need to take the men off the rods?
No, and it’s better not to. Leaving the figures on the rods saves dozens of small screws and avoids the risk of stripping the plastic threads they seat into. Just bundle the rods carefully so the men aren’t taking impacts in transit.
Can I store a foosball table on its side?
For a short move, yes. For long-term storage, lay it flat if you possibly can — prolonged storage on edge can encourage warping in the playfield substrate. Far more important than orientation is keeping it dry: a damp garage will destroy a playfield in a single winter.
What if I’ve lost the assembly instructions?
Your own photographs are the best substitute, which is why taking them before disassembly matters so much. Failing that, the rod sequence is consistent across brands — 1 goalie, 2 defence, 5 midfield, 3 attack per side, counting outward from your own goal — and most manufacturers publish assembly PDFs for current models.
Is it worth paying movers to handle it?
For a straightforward move, no — it’s a screwdriver job and two people. For a heavy competition table down a difficult staircase, possibly, but be aware that general removal firms often won’t dismantle it for you, and moving an assembled table down stairs is how playfields get damaged. Dismantling it yourself and handing over flat boxed parts is usually the safer arrangement.
- →Assembling a foosball table — the rebuild at the other end
- →Cleaning a foosball table — do it while everything is apart
- →Fixing a foosball table — bearings, wobbles, and worn parts
- →Choosing a foosball table — if the move is really a replacement